


I probably don’t need to tell you that good coffee and expertly steamed milk is a magical combination. After all, there’s a good reason why we just can’t get enough of cafe lattes, flat whites and all the rest. But do you know how to steam milk at home? What about how to froth milk without a frother?
As a former barista, I’m fully aware of the challenges involved in creating really good steamed milk. I also spend a lot of time reviewing super automatic espresso machines and home espresso machines – many of which have milk frothers that don’t measure up.
In this article I’ll discuss the difference between frothed milk and steamed milk. You’ll get some DIY tips on how to froth milk without a frother. You’ll also learn how to steam milk at home by hacking your kitchen utensils, taking them a little beyond their intended purposes. It’s cool stuff, so get ready to have your mind blown!
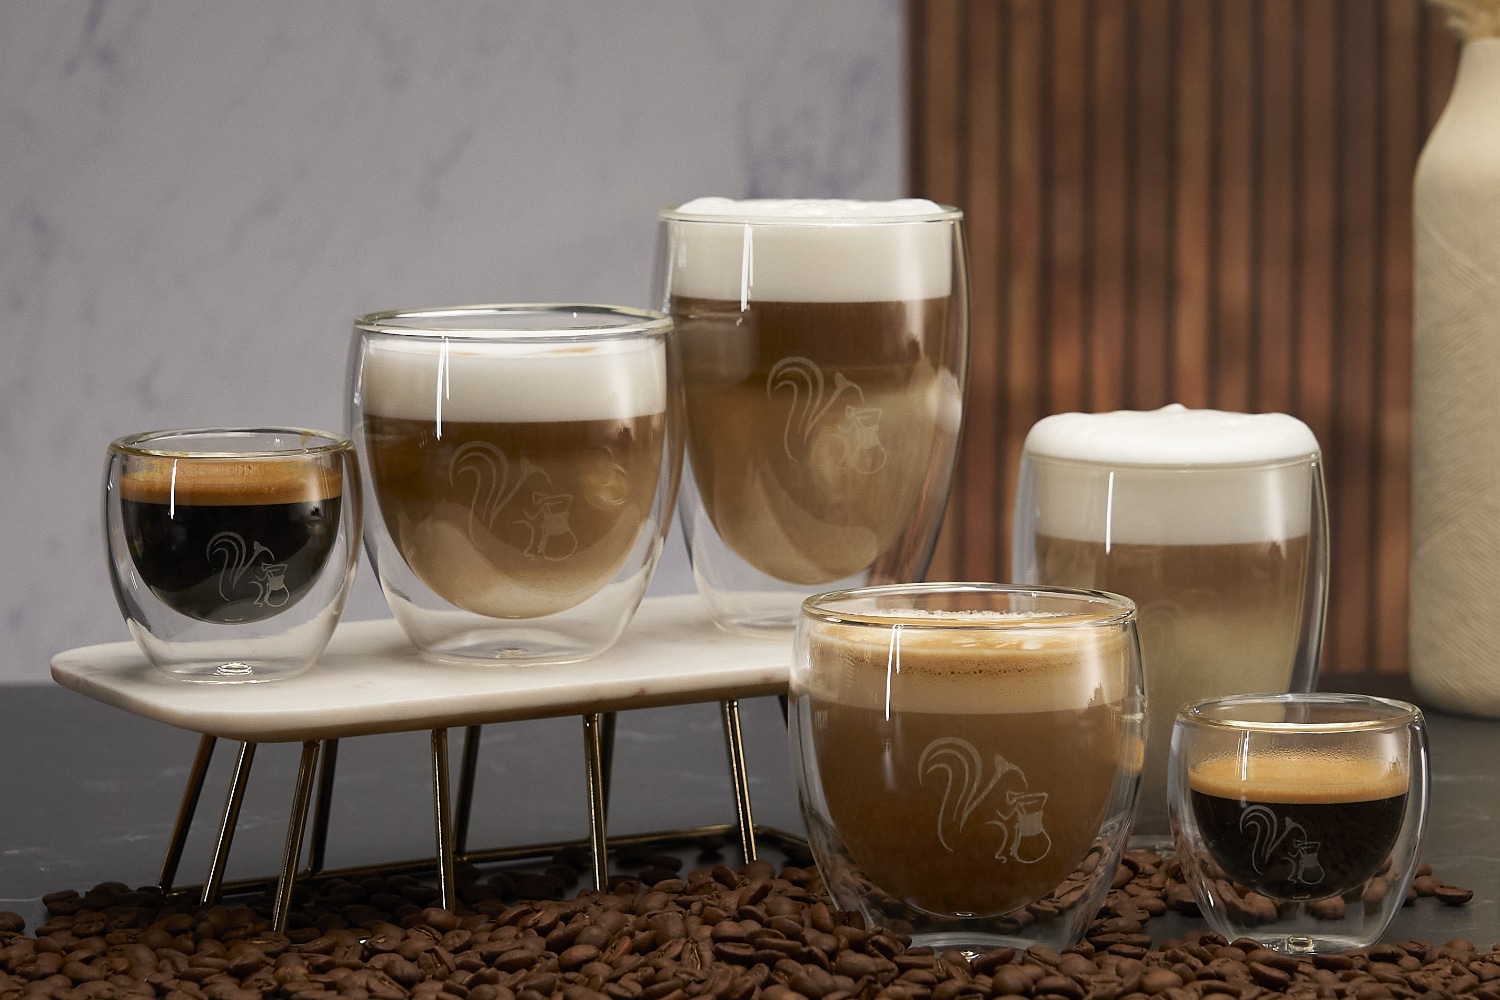
Double Walled Thermo Coffee Glasses
Enjoy your coffee drink hot for longer
Keeps your coffee warm longer
Made of robust borosilicate glass
Table of Contents
Steamed Milk: What’s the Big Deal?
Let me start by saying it isn’t enough to just heat milk and add it to your pour-over coffee or espresso. A lot more has to happen.
During the steaming process, air is pulled into the milk as it’s heated. High-pressure steam causes the milk fats to expand, creating a foamy consistency.
Proteins in the milk keep the foam stable, while the naturally occurring sugars are caramelized.
The resulting foamed milk is rich and creamy. It blends beautifully with espresso, working to enhance the complex flavors and aromas of your coffee drink.
If you steam milk for too long, things don’t turn out so well. Once milk reaches 158 degrees Fahrenheit (70 degrees Celsius), the proteins start to break down and the milk tastes scorched.
That’s why we should take a moment to show some appreciation to all the great baristas out there who get it right! Some of them have really mastered the use of an espresso machine.
Steaming milk well – so that it has just the right consistency and temperature – is a real skill that takes a lot of practice. Creating beautiful latte art is another thing altogether, and not everyone is able to master it.
Steamed Milk vs Frothed Milk: What’s the Difference?
I’ve found that people tend to use “frothing” and “steaming” interchangeably. This doesn’t really bother me too much, although I’m sure there are plenty of professional baristas who feel differently.
Is steamed milk the same as frothed milk? Yes! Let me clear this question up for you today.
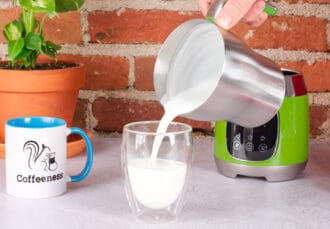
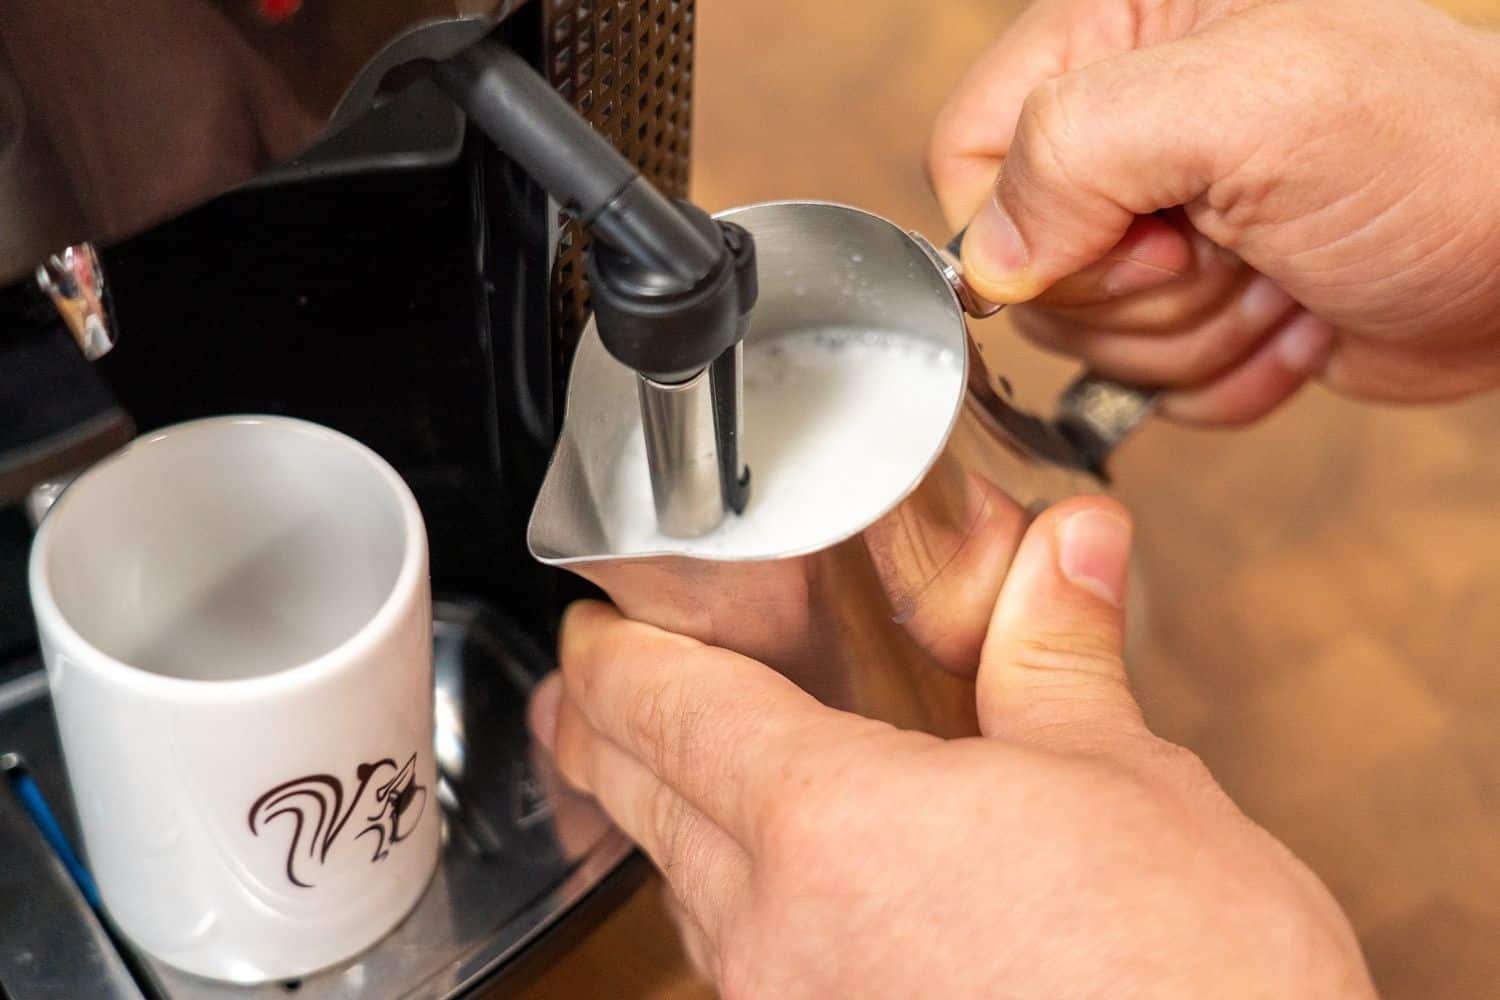
Perfect steamed milk can normally only be achieved by using a steam wand. As the steam heats the milk, minimal air is added, which creates fine, silky foam with tiny bubbles … aka microfoam. Thanks to my DIY hacks and milk frother recommendations though, you’ll be able to create the same or similar results without having to own an espresso machine or a milk jug.
Frothed milk is thicker and foamier, and is created by injecting much more air into the milk. You can use a steam wand to create nice fluffy foam, but there are other ways of achieving the same results. We’ll get to those later on.
How to Steam Milk at Home: Choosing the Best Milk
If you’re learning how to steam milk at home, the most important tip I can give you is to always use fresh, cold milk. As milk ages, it becomes more difficult to work with and it just won’t taste as good.
Whole Milk
As I mentioned in my milk foam guide, my preference is for whole milk from a cow. There’s just no escaping the fact that the fat content in whole milk is ideal for creating excellent microfoam. Not only that, it acts as a wonderful flavor carrier for espresso as well.
Nonfat Milk
Some folks will tell you that nonfat milk is ideal for steaming or frothing milk. I disagree: skim milk has less fat but more carbohydrates, making it difficult to achieve stable frothy milk foam.
You might be able to get decent results using nonfat milk, but I find it too watery and unsatisfying. The goal is good foam, not just acceptable.
Plant-Based Alternatives
In my guide to the best non-dairy milk for frothing, I dive deep into the world of plant-based alternatives. Here are a couple of my faves:
Soy milk is ideal for frothing at home – you’ll get mountains of milk foam, but it does burn at a lower temperature than cow’s milk.
Oat milk is another non-dairy option to consider. I’ve achieved great frothing results with Califia Farms Barista Blend, although the oaty taste does tend to overwhelm delicate roasts.
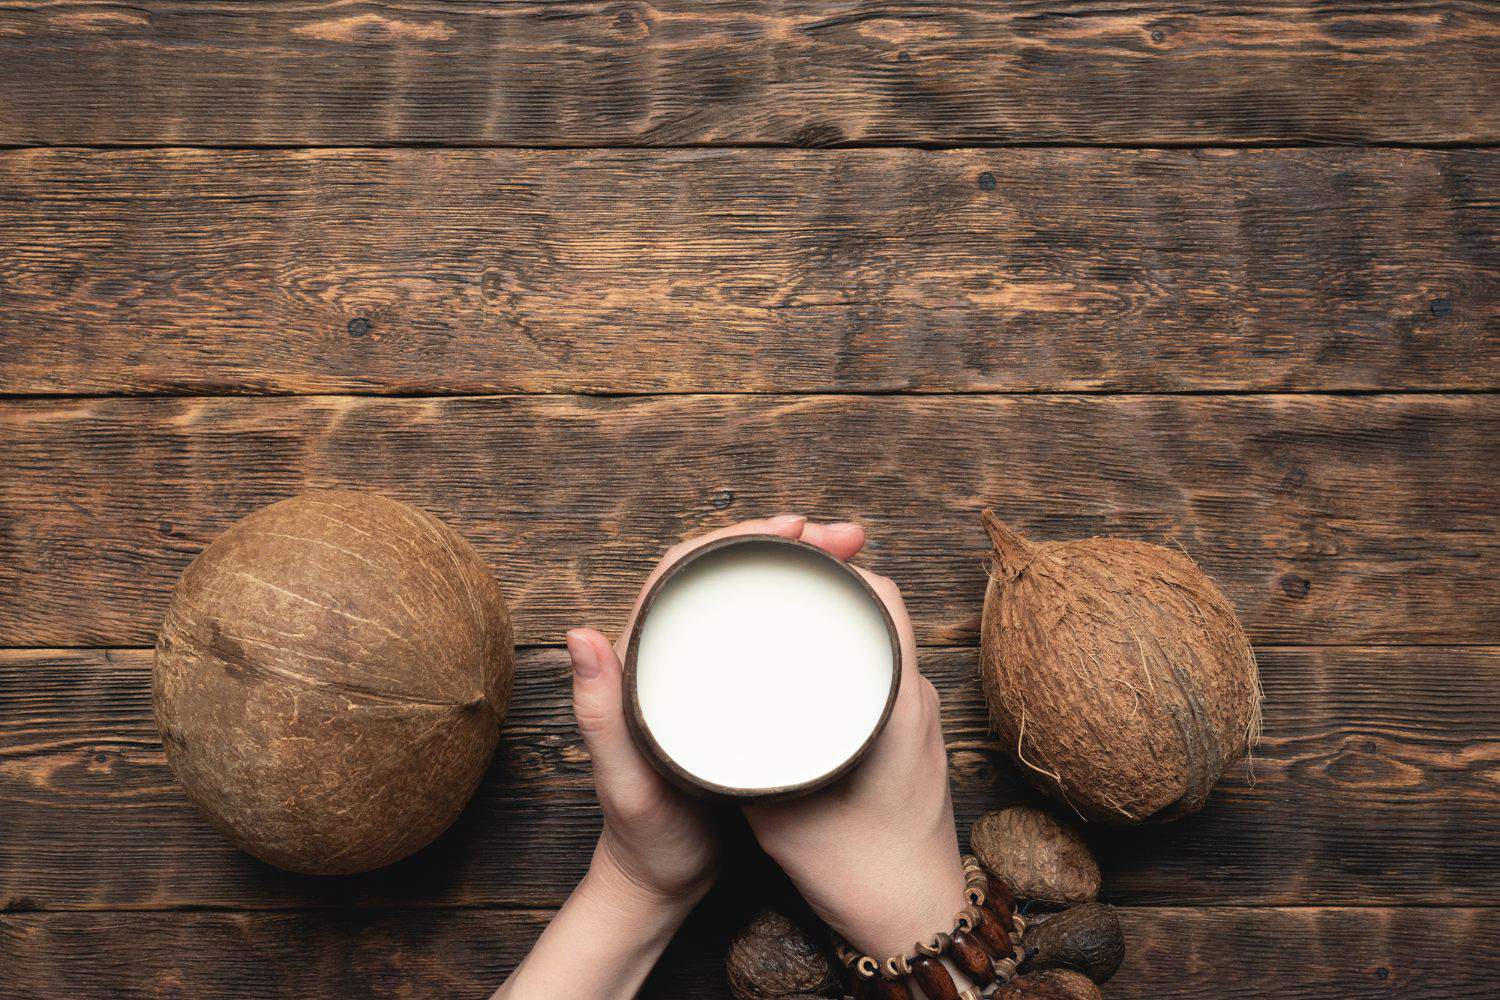
Other popular plant-based alternatives are almond milk, coconut milk, hemp milk, rice milk, cashew milk and pea milk. Of these, coconut milk offers the thickest and creamiest consistency for your home coffee adventures.
How to Make Steamed Milk at Home: Milk Frothers
I’ll admit I used to turn my nose up at stand-alone milk frothers. I dismissed them as infomercial junk for those who didn’t have access to a super automatic espresso machine.
While you can’t achieve “true” steamed milk without using a steam wand, there’s a lot to be said for milk frothers. In fact, you can get fantastic results with these little things. Milk frothers are also easy to clean and often cost very little.
What kind of milk frother should you choose? Well, the best way to answer that is to check out my guide to the best milk frothers. Still, for the purposes of this article, let’s take a quick look at your options.
Automatic Milk Frothers
With automatic milk frothers, you don’t always have sufficient control over the foaming process. However, some automatic milk frothers produce results that come close to what you’ll get from a steam wand.
Take the Maestri House Milk Frother, for example, which is a great tool to help you learn how to steam milk at home.
Battery-Operated Milk Frothers
I refer to these handheld milk frothers as “magic wands.” They’re super easy to use and very inexpensive, but they don’t tend to last very long. Because of flimsy design choices, many handheld milk frothers break easily.
Still, I’m a big fan of the Aerolatte Essentials Steam-Free Milk Froher, which costs just $16.94 on Amazon.
Manual Milk Frothers
Again, you’ll have to heat the milk separately when using a manual milk frother, but you can get superb results with one of these. For example, the Bodum Latteo Manual Milk Frother, never fails to deliver thick, pillowy results.
How to Steam Milk Without an Espresso Machine: DIY All the Way Baby!
With a little determination and a positive outlook, you can create foamed milk at home without a milk frother, espresso machine or super automatic coffeemaker.
Most kitchens have everything you’ll need, but I do recommend investing in a thermometer if you don’t already own one.
Milk that’s been scorched isn’t going to do your coffee any favors. Trust me on that one. If you’re all about DIY, consider one of the following methods for how to steam milk at home:

French Press Method
What’s the point of buying a manual milk frother when you already own a French press? While it’s true that a Bodum Latteo resembles a French press, it has been designed so that the plunger moves up and down easily.
That said, I have heard that some French presses can do the job just as well. If it works for you, run with it!
Stovetop Method
Creating frothed milk in a saucepan takes time, but you can get perfectly good results. Remember to warm the milk slowly, and use a thermometer to keep an eye on the temperature.
Use a balloon whisk – the kind you use to beat eggs – and whisk the milk constantly and briskly. Don’t worry, it’ll get easier to create foam as the milk warms up.
Mason Jar Method
You’ll need a microwave for this steamed milk hack. I don’t really like using a microwave because it’s difficult to heat things consistently. Still, many people claim to get excellent results using this method.
Start by putting cold milk in a jar and then shake it like you mean it. At this point you’ll know whether or not you remembered the lid! Once the milk is frothy, remove the lid and put the jar in the microwave. The proteins in the milk will quickly heat and the foam will set.

Do not try shaking hot milk in a jar! It will spew everywhere and you’ll get burned.
Blender Method
Most kitchens have a blender in some shape or form. Frothing milk works well in a blender, so long as you are careful not to send hot milk all over your kitchen.
Simply add the heated milk to your blender. Cover the top with the lid and a dish towel and press go. I recommend starting on the lowest speed setting and moving up from there. I also suggest you start with a smaller amount of milk, so as to avoid a mess.
Alternatively, if you’re using a hand blender, just make sure the vessel you are blending in has tall enough sides to prevent a disaster. A good tall container is a must. Safety first!
Mixer Method
That mixer of yours can be used for far more than making cakes, though having some cake to go along with your coffee would be nice!
To froth milk with a mixer, you’ll want to pour milk into a bowl or measuring cup with tall sides. That will help prevent unnecessary spills or scalding.
Like with a blender, start on the lowest setting and proceed with caution if using hot milk. The safest option is frothing the milk cold and then heating it in the microwave.
Final Thoughts: Practice Makes – Almost – Perfect
You can create surprisingly good steamed milk at home without an expensive machine, but achieving high-quality milk foam takes a lot of practice.
You’ll need to spend a lot of time honing your technique in order to create good foam that’s stable. One thing I’ve found useful is to transfer the frothed milk to a smaller pitcher before you pour the milk into your designated cup.
As I already mentioned, I’m not a fan of microwaves for heating milk. Your best bet is to heat milk slowly and evenly. That way, the sugars will develop and you’ll end up with sweet, creamy milk that’ll really enhance the taste of your coffee drinks.
How do you steam milk at home? Do you have a secret DIY version that you’re willing to share? As always, I look forward to your comments and suggestions!