


Here at Coffeeness I’ve always tried to make the subject of coffee approachable. So, if you’re just learning how to make pour-over coffee, I think this guide will really help. After all, it’s easy to get bogged down in technical details seeing as this brewing method is favored by true nerds.
With that said, I love to geek out on brew ratios and pouring stages as much as the next barista. But I don’t want to deter a novice from diving in and enjoying all that pour-over coffee has to offer. That’s because the coffee from pour-over drippers is pure, stylish and always reflects the underlying character of the coffee beans. The equipment is also very inexpensive.
Personally, I always reach for a pour-over coffee brewer when I’m testing new coffee beans. Plus, if I’m testing a coffee maker, I’ll always compare the results with coffee from a manual dripper.
In this updated guide you’ll find everything you need to know about how to make pour-over coffee. So, without further ado, let’s dive right in.
Table of Contents
What’s the Best Pour-Over Dripper to Choose?
When looking for a new pour-over coffee dripper, you’ll generally encounter four important distinguishing characteristics:
Material
Shape
Size
Type of paper filters.
I can understand if you don’t want to spend more than about $30 on a porcelain Hario V60 coffee dripper. The question of whether you can brew good coffee with the classic Melitta Filter Coffee Maker, made of plastic and just $7.15, is just as legitimate.
The truth is: Both options result in very similar cup profiles and both produce better pour-over drip than almost any drip coffee maker.
But when it comes to pour-over coffee drippers, conviction also plays a role to some extent. Basically, no one alternative is better than another. I’ll therefore refrain from making a final judgment. I’ll simply introduce you to the different characteristics and leave you to draw your own conclusions.
What Defines Pour-Over Coffee?
This is something I’ve already noted in my how to use a French press guide. Manual drip coffee, as a pour over method, is the opposite of immersion coffee preparation. Therefore, it’s more indirect in absolutely every respect.
“Indirect” preparation methods are characterized by the fact that some form of filter or other strainer is used during the brewing process. This filter is essential because it holds back bitter compounds and coffee oils.
When these brash bullies don’t find their way into the cup, completely different flavors can make their grand entrance: citrus notes, floral elements, fruity flavors, etc. In other words, everything that’s otherwise too delicate to compete against the core coffee components.
The coffee from pour-over drippers always blows the minds of newcomers to the specialty coffee scene. By using this preparation method, it suddenly becomes apparent just how great an acidic, light coffee can taste.
In terms of a caffeine kick, pour-over coffee brewed using a dripper is a fairly middle-of-the-road performer. In our large-scale caffeine study, pour-over drip ranked in the midfield both in terms of its caffeine concentration and absolute quantity per serving.
It’s also true, however, that coffee drippers extract more caffeine than either drip coffee makers or super-automatic espresso machines. This is in large part due to the extra care and attention involved when you’re brewing pour-over coffee by hand.
You can also recognize a successful extraction from the fact that the coffee continues to develop in complexity as it cools. Cold coffee from a super-automatic espresso machine, on the other hand, is usually just that – cold coffee.
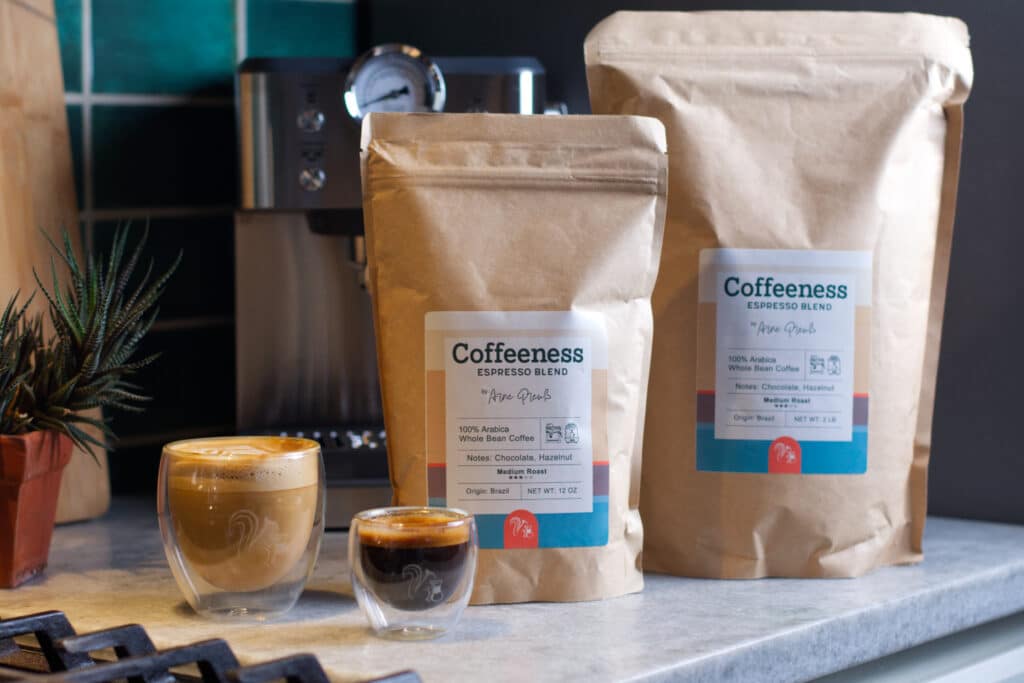
Choosing Coffee Beans for Pour-Over
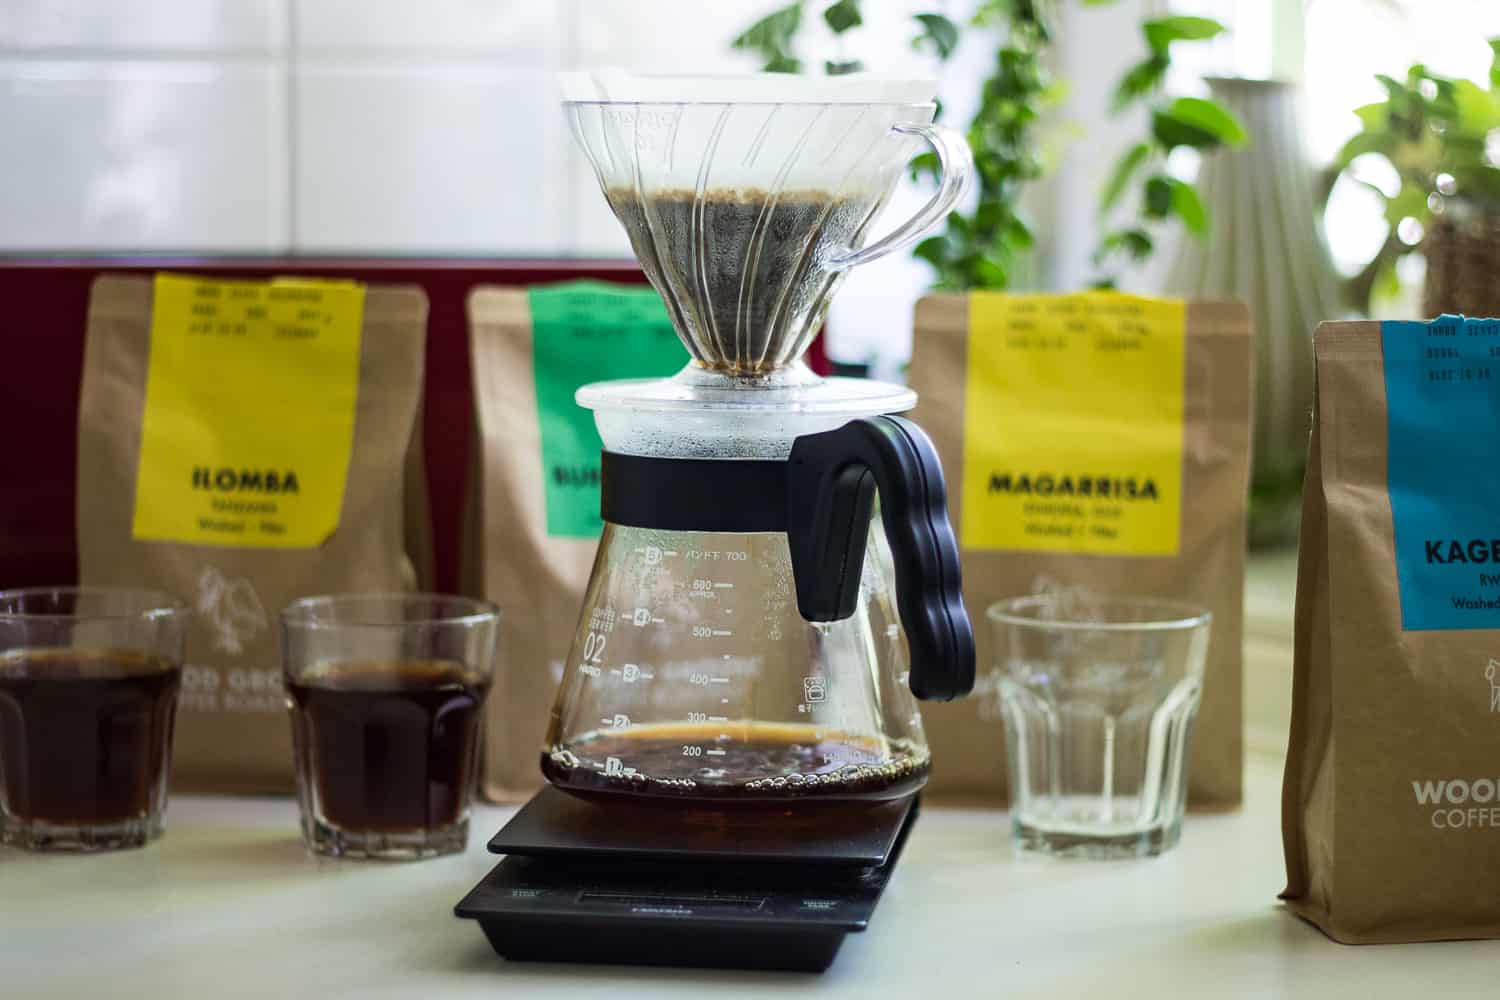
To be perfectly honest, there’s no right or wrong type of bean to use with a coffee dripper. However, as I’ve already pointed out, if you want to experience everything that a light roast single-origin coffee has to offer, this is the brewing method to use. On the other hand, you’ll still get excellent results with a coffee blend that’s been roasted a little darker.
As always, it’s just a matter of taste, but buying high-quality beans from an independent roaster will yield superior results every time. If you want inspiration, check out my guide to the best coffee beans for pour over.
How to Make Pour Over Coffee
Considering the basic requirements for brewing good coffee using a pour-over coffee maker, preparation should be child’s play. Ultimately, all you need is a filter holder or dripper, paper filters, quality coffee beans and water.
While I often employ approximation techniques with other manual brewing methods, in the case of pour-over coffee, I consider precision to be crucial. That’s because you’ll only be able to tease out the subtleties of the coffee if you prepare it carefully.
Brew Ratio and Grind Size
When it comes to the best grind size for pour-over coffee, you should aim for a medium to medium-fine setting. Of course, the exact setting will depend on your coffee grinder. However, the results should resemble coarse sand or sea salt.
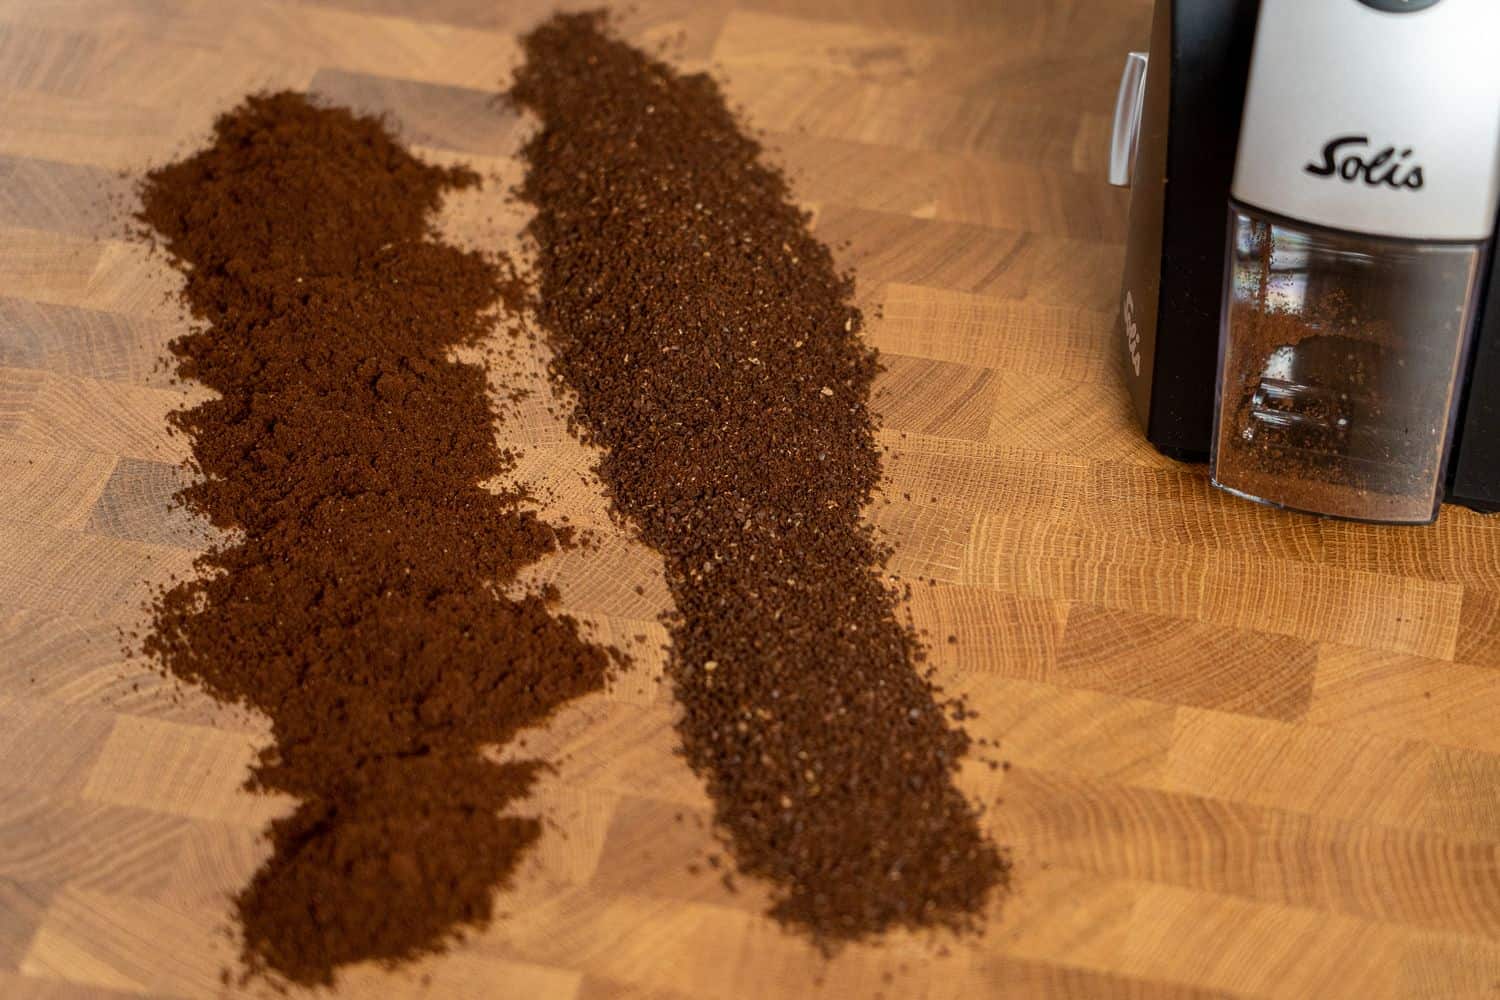
The grind size has a significant influence on the flow rate. This in turn determines the extraction time. The finer you grind the beans, the slower and more intense the extraction will be. This can quickly lead to an imbalance. Generally speaking, pour-over coffee tastes too sour or too bitter with an overly fine grind size.
As for the brew ratio, you’ll need to experiment until you find your ideal. With that said, I’d recommend anywhere from a 1:14 to a 1:20 water-to-coffee ratio. In other words, you’ll use one gram of coffee for every 14-20 grams of water. As you might imagine, a decent coffee scale will be vital for achieving this level of precision. Don’t worry, though – there are tons of affordable options out there.
Preparing the Paper Filter
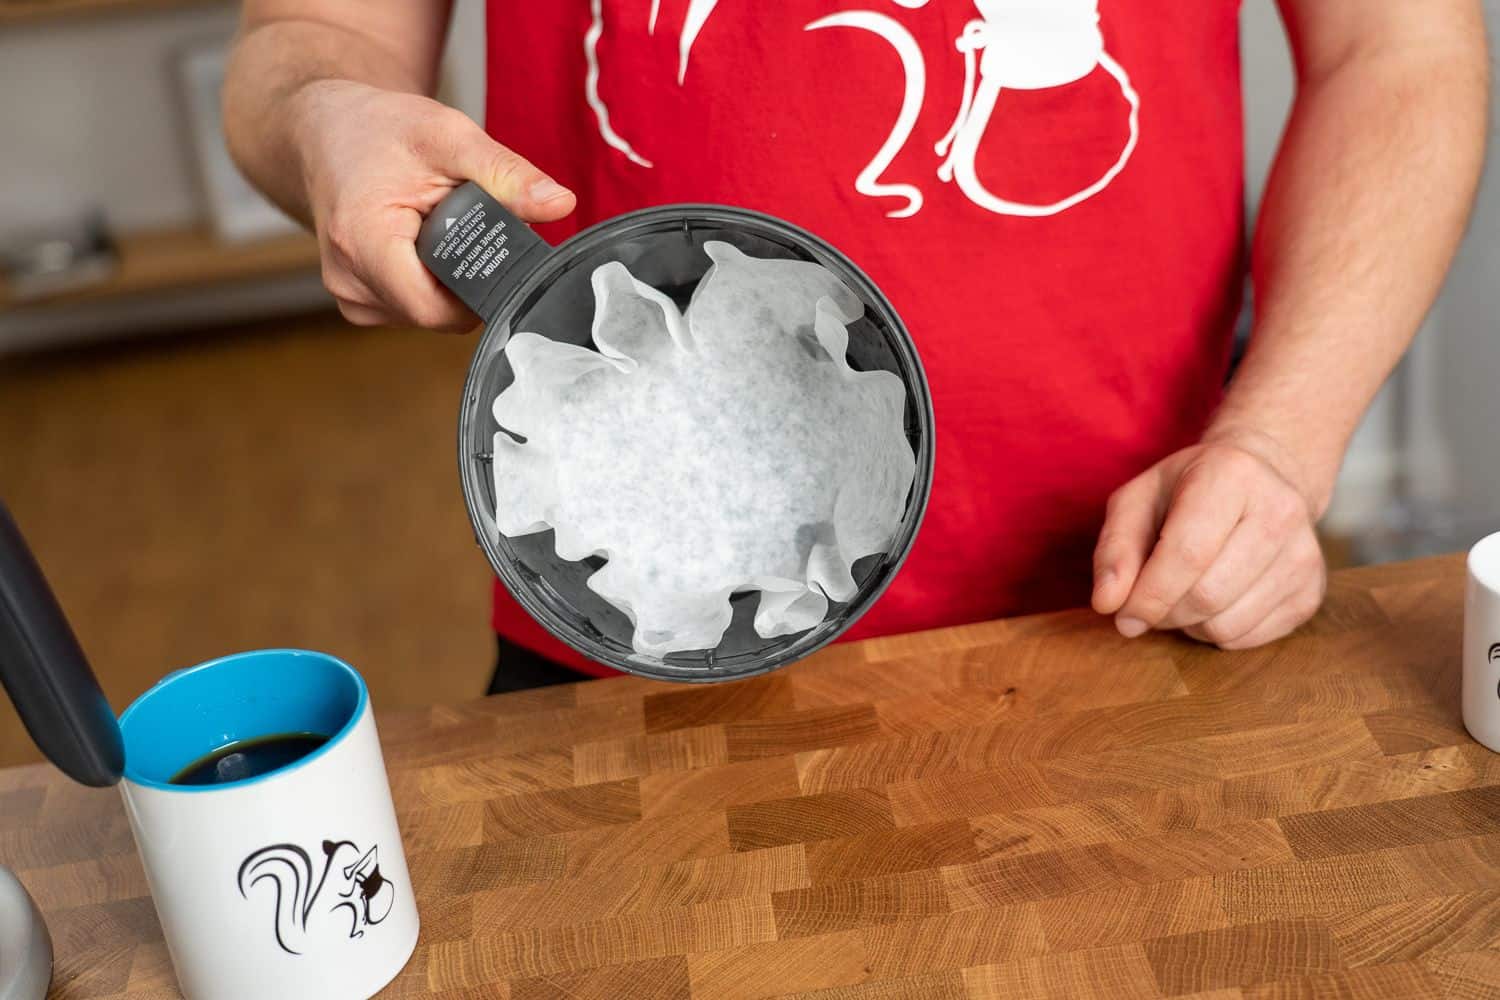
Regardless of whether you opt for a conical filter or Melitta-style basket: if you want excellent results, you really should “pre-prepare” the paper filter:
Firstly, fold the filter along its seam so it opens, then insert it into the filter holder or dripper.
Now, take the dripper and filter and moisten them with hot water. Finally, tip the whole thing up, pouring the water out again. Doing this opens up the pores of the paper, flushes out any dust and ensures that the filter perfectly hugs the dripper. At the same time, your porcelain, metal or glass coffee dripper will be nicely pre-warmed.
Preparing the Coffee Grounds
You’ll be doing yourself a big favor by not just dumping your fresh coffee grounds into the filter, then pouring. Rather, you should get into the habit of leveling the coffee bed. To do so, add ground coffee then briefly shake or lightly tap the coffee dripper,.
This way, you’ll ensure that the entire surface area is covered by water and thus that all the coffee granules can be evenly extracted. You’ll also minimize the likelihood of craters forming.
If significant craters do form, the ground coffee around the edge will be extracted to a lesser extent than what’s in the middle.
Coffee Brewing Temperature
The ideal brewing temperature for pour-over coffee made using a dripper is just under 205 degrees Fahrenheit (96 degrees Celsius), which also corresponds to the specifications for French press. You’ll often find 201 degrees Fahrenheit (94 degrees Celsius) suggested, too.

This isn’t wrong – it’s just that during brewing, time passes, allowing the water temperature to drop slightly.
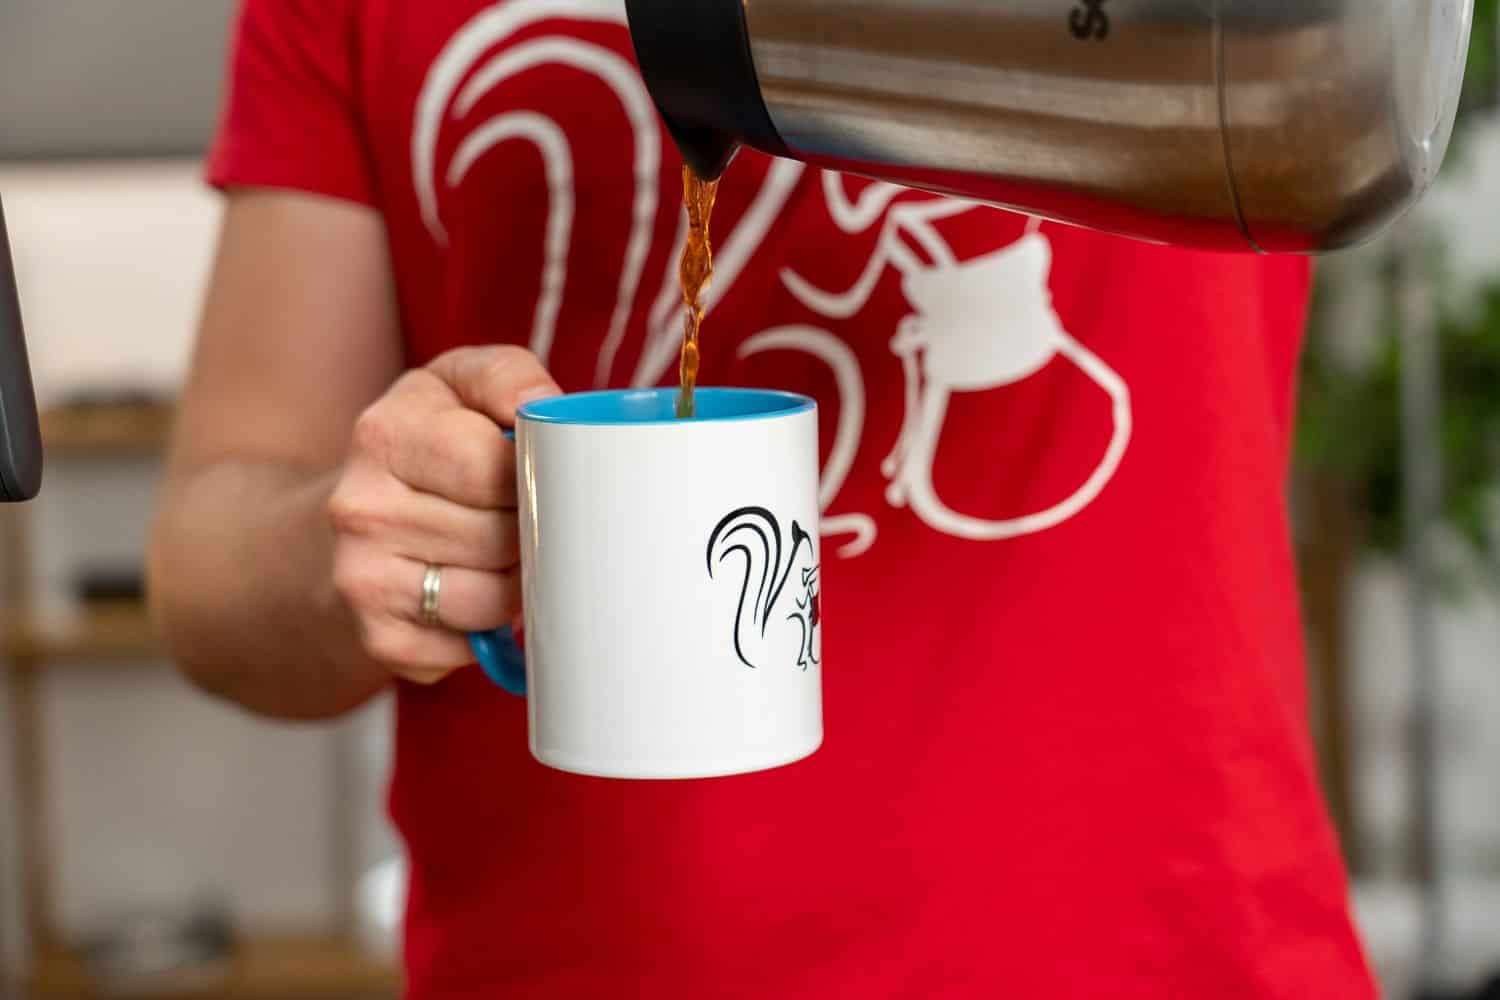
Many of you report the problem of your coffee losing temperature too quickly due to this brewing method being rather slow. The best way to avoid this is to use a pre-warmed pot or cup. Fill it with some boiling water and allow it to stand a few minutes, before emptying it back out.
Since coffee drippers are intended for small cup portions, you should use a Chemex, for example, when brewing larger quantities. This will also need to be pre-warmed, but its special glass has high thermal retention properties.
A kitchen thermometer is the safest way to measure water temperature. Otherwise, use a kettle with a thermometer or the classic “boiling-point-of-water-plus-90-seconds wait time” rule. This isn’t especially accurate, but it’s better than nothing.
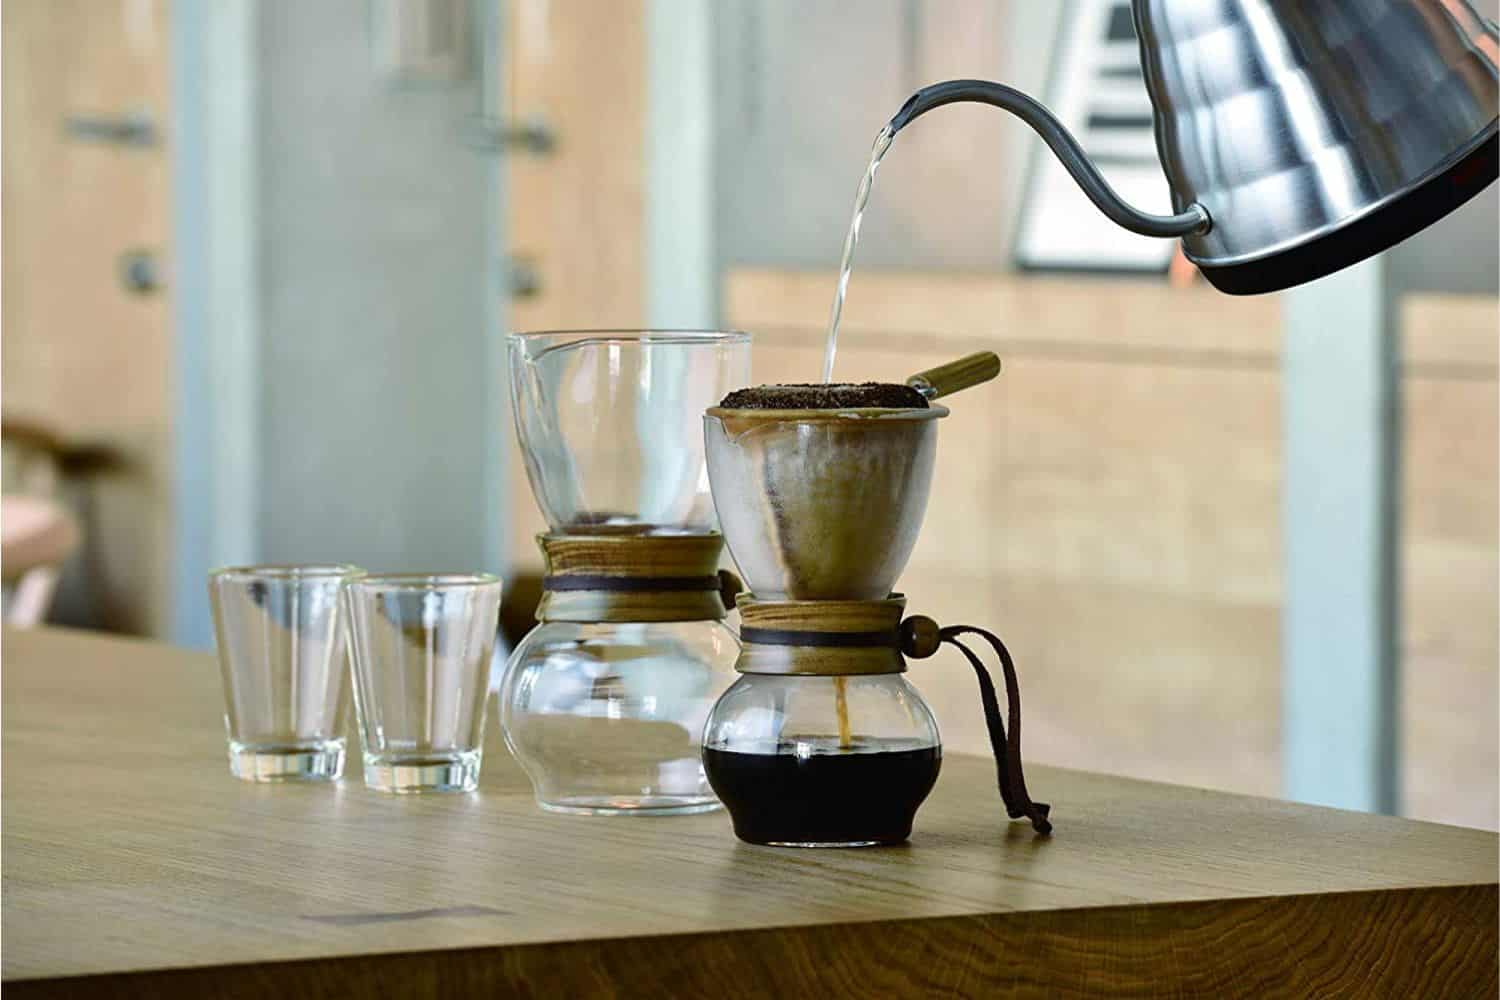
Mastering the Correct Infusion Technique
Even if you’ve been accurate at every other step, it’s still quite easy to screw up your pour-over coffee by using the wrong infusion technique. That’s because it’s your hand movements and patience that ensure the coffee is extracted evenly and with the correct timing. The whole thing works like this:
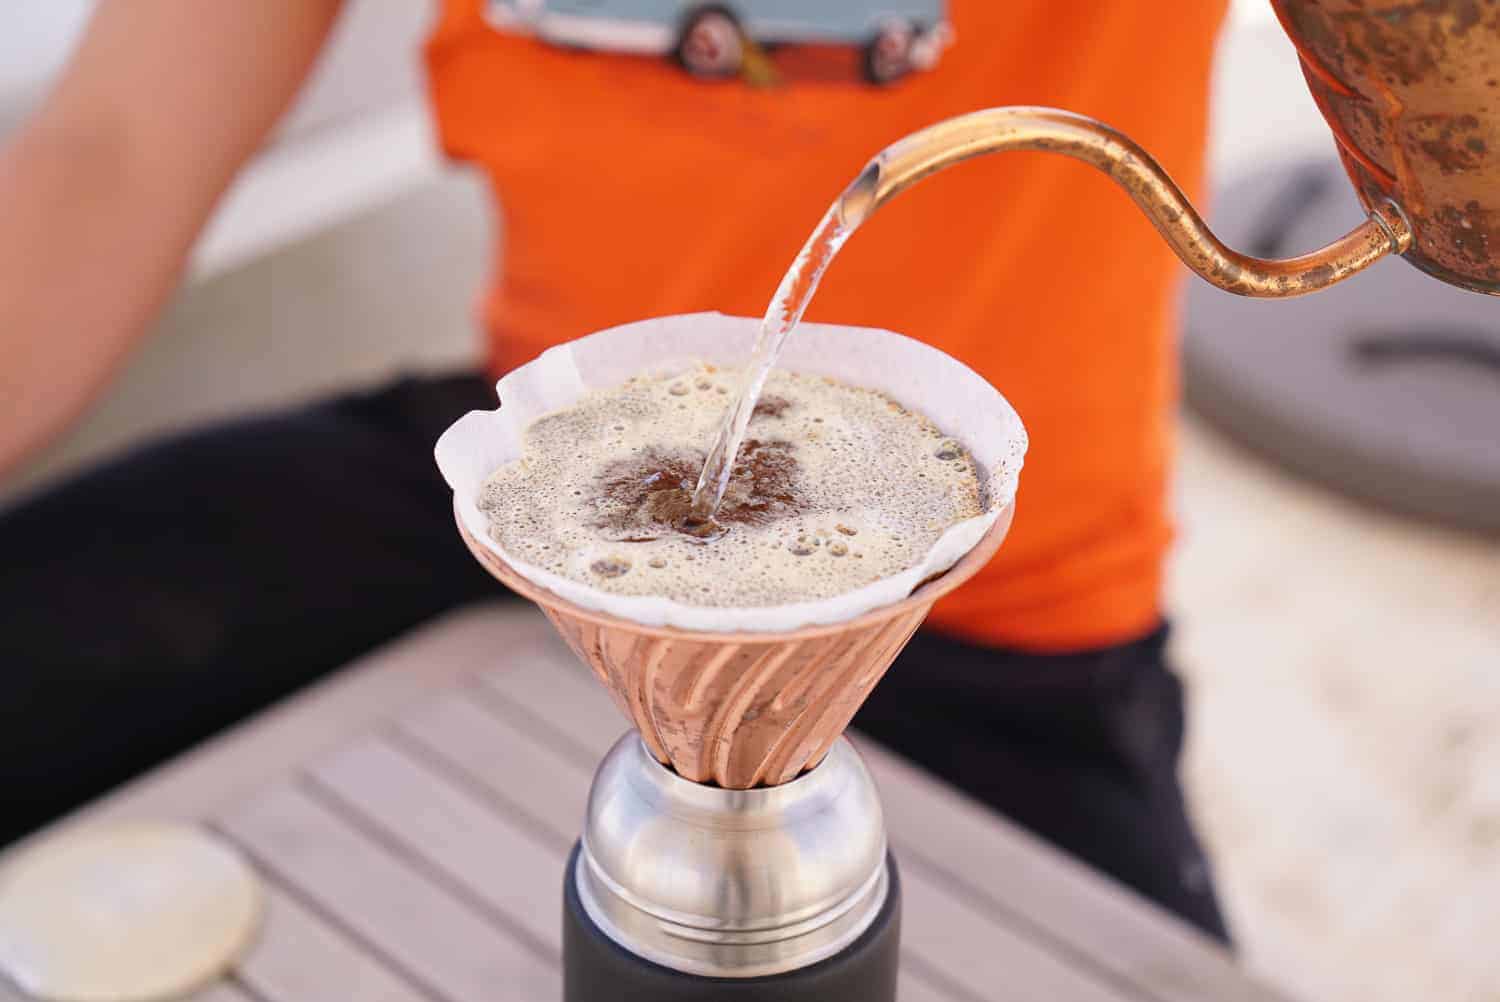
Slowly pour a little water over the entire surface of the ground coffee using gentle circular motions, then allow it to soak for about 30 seconds. This blooming phase “activates” the extraction process, with each coffee granule in the filter swelling without extracting completely. It also allows carbon dioxide from the roasting process to escape.
Pour over more water in circular motions until the filter is at full capacity.
When pouring, take care to ensure that no craters form. If necessary, use the stream of water to move the sticky ground coffee away from the edges.
Should there be water remaining, only repeat the infusion process again after the water from the first full pour has completely drained away.
As I pointed out earlier, you should use a coffee scale when you’re pouring. And make sure to set a timer if your scale doesn’t have one. Ideally, the whole process should take 3-4 minutes.
Most coffee shop baristas use gooseneck kettles with long, thin spouts for more precision when brewing. They’re not an absolute necessity – but regular water kettle spouts are usually pretty crude, causing too much water to come out at once. My favorite electric kettle is the Fellow Stagg EKG, but it’s rather pricey. However, there are plenty of more affordable options in my guide to the best gooseneck kettles.
Pour-Over vs Drip Coffee Makers
Whenever I ramble on about pour-over drippers, the questions about drip coffee makers aren’t usually far behind – do they use the same principle, are they less effort, less trouble? Even though the principle is the same, coffee makers have traditionally been very crude imitations.
At least until now. I’ve recently had to refresh my automatic drip brewer guide yet again. That’s because so many great new devices have come onto the market that are increasingly based on the concept of manual brewing.
Here’s a selection of drip coffee makers I’ve tested, all of which produce exceptional results. In fact, these machines are capable of making delicious coffee that’s easily as good as anything I can prepare by hand:
However, this is offset by the fact that you have to invest considerably more money for an automatic pour over coffee maker – well over $200. Basic pour-over coffee equipment (not including the water kettle) will cost you just $20 or less. Especially when you’re buying a budget coffee dripper made of plastic and even cheaper paper filters.
That leaves you more than enough money for decent coffee beans and even an entry-level coffee grinder. Because without either of those things we needn’t continue this conversation.
Pour-Over Coffee vs Other Preparation Methods
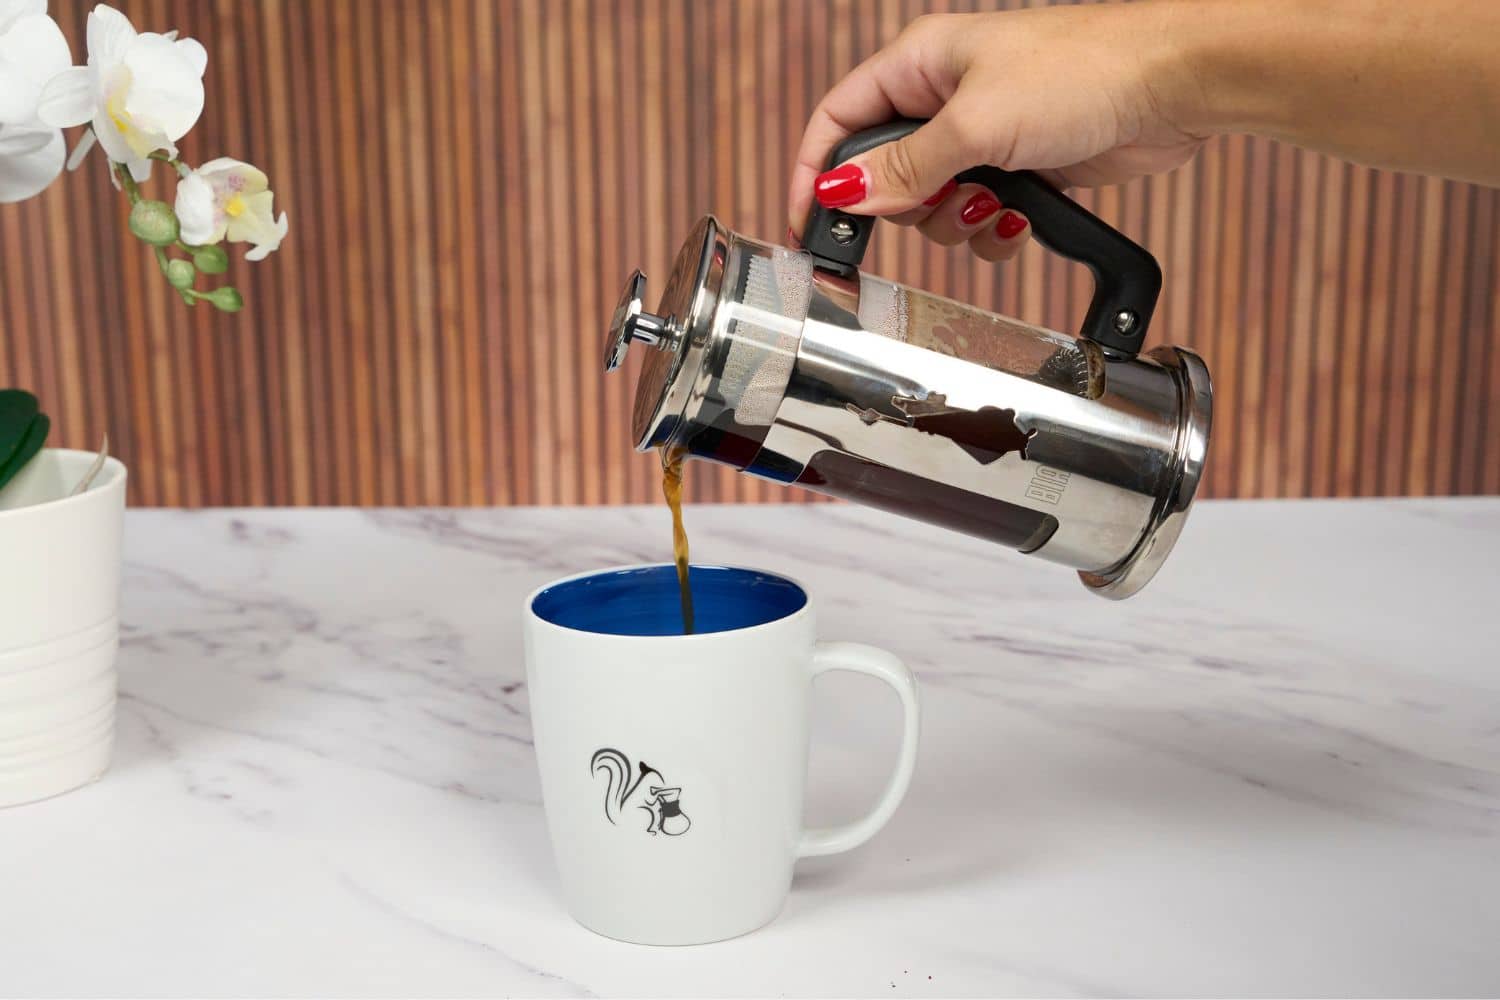
Compared to its direct “rival” French press, preparing pour-over coffee is a bit more complicated – but also much better attuned to delicate coffee aromas. Plus, you don’t end up with coffee sediment in your cup.
The Chemex is a perfect example of a pour-over device, but because of its special shape and brand image it’s actually considered a category in its own right. Seen in this light, the Karlsbader coffee maker also belongs to the pour-over dripper category. However, with its extra coarse porcelain filter, it extracts in a completely different way.
Since pour-over coffee doesn’t require any pressure, you can’t compare it at all with the espresso from espresso machines, super-automatic machines or moka pots.
Roughly speaking, these coffees lie at the two different ends of a scale: from gentle and pressureless to powerful and pressurized. While pressurized extraction processes focus on oils and bitter compounds, pour-over drip methods are all about brightness and floral notes.
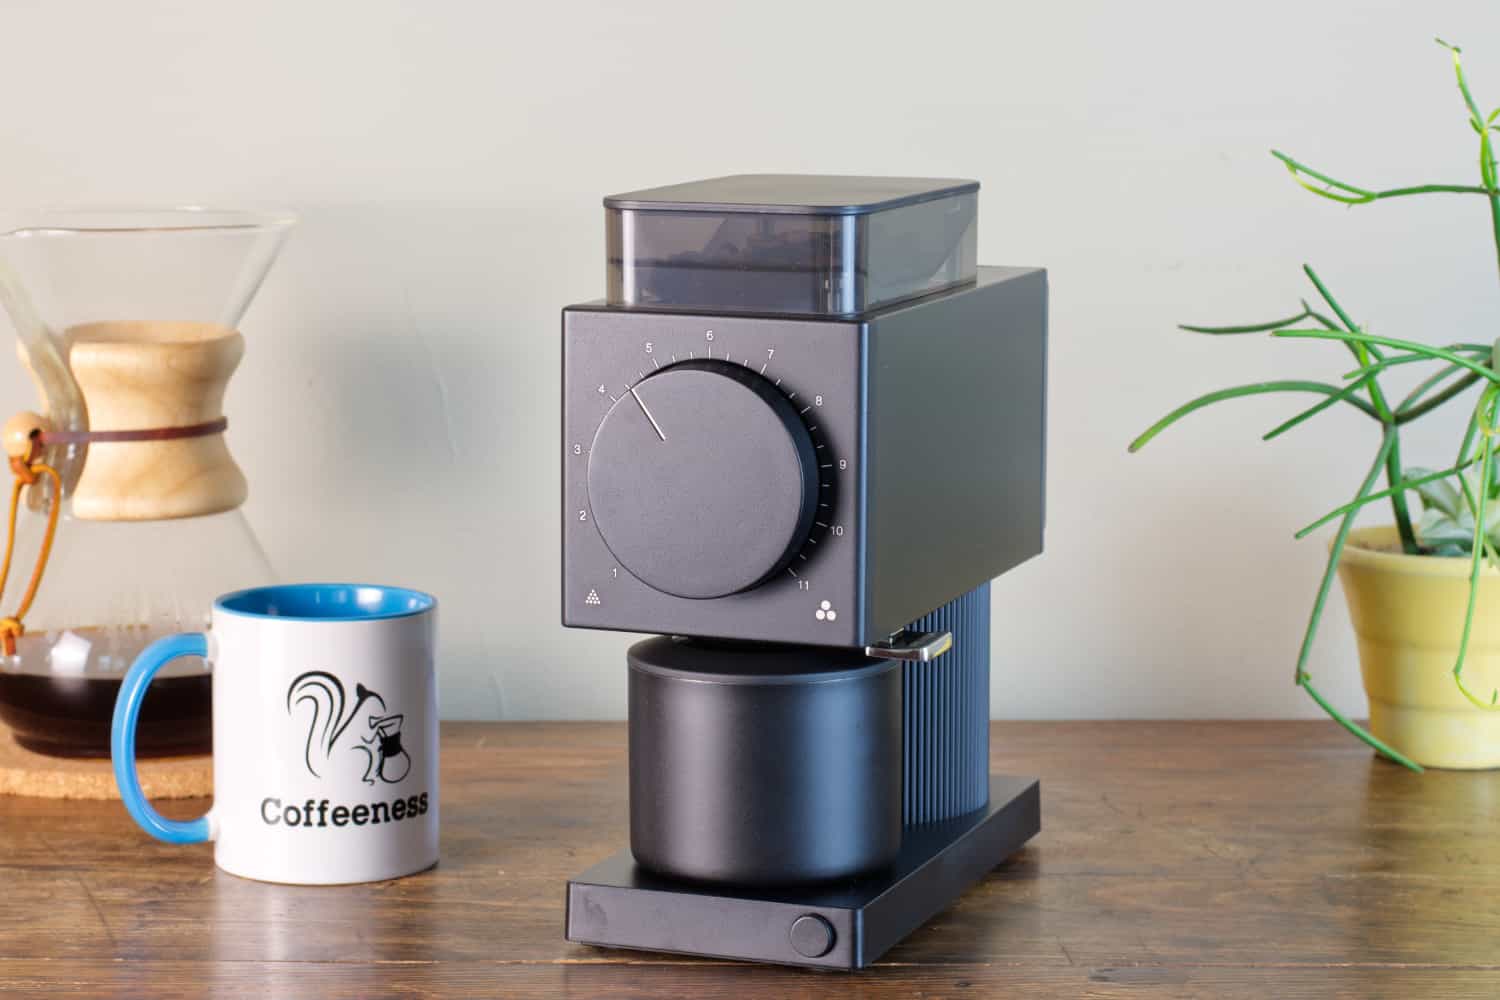
Best Grinder for Pour-Over
Because I’m such a big fan of manual pour-over drippers, my coffee grinder reviews will usually immediately tell you whether a particular burr grinder is suitable for making pour-over coffee or not. I always test the medium grind setting first.
The great thing is that even very inexpensive entry-level options such as the OXO Brew coffee grinder or the Baratza Encore are very well suited for use with drippers.
And then there’s the marvelous Fellow Ode grinder, which the manufacturer designed specifically to excel as a grinder for manual brewing methods. Still, you’ll have to spend a pretty penny to get your hands on this puppy.
In my opinion, your best option might be to purchase a manual coffee grinder. There are some truly incredible hand grinders out there, and you’ll get way more bang for your buck. Take the Timemore C3 for example. This manual grinder costs just $95.00, yet outperforms electric grinders costing twice as much.
Cleaning Coffee Drippers: Is Rinsing Enough?
You can clean a pour-over coffee dripper in the blink of an eye. Even though some guides advise against using detergent to clean filter holders, permanent filters or jugs, I don’t see why not. As long as you thoroughly rinse off any cleaning agent residue afterwards, there’s no reason to do without this handy hygiene helper’s assistance.
If that’s too risky for you, then it’s enough to rinse rigorously after each use. We all know how quickly deposits accumulate in pores, though, and coffee fats always seem to seep through.
Bodum Pour Over and Friends: What Advantages Do Permanent Filters Have?
I’m including this section because one of our Coffeeness team members once received the Bodum Pour Over as a subscription gift.
Basically, pour-over coffee makers like this have permanent filters and preparation pots. They all imitate the Chemex principle, but are essentially nothing more than dressed-up versions of a manual coffee dripper.
Pour-over coffee sets come with the great advantage that you don’t have to buy any consumables for them or worry about which containers will fit the filter. Permanent filters consist of either sturdy metal or a mesh insert, which can be made of various different materials.
Compared to paper filters with their fine pores, permanent filters are somewhat coarser because their filaments (or holes) don’t change when they come into contact with water. The mesh must therefore be fine enough to ensure decent extraction.
There’s no doubt that Bodum designed its pour over maker for absolute beginners. Its plastic mesh filter is designed in such a way that your coffee will still taste good even if you aren’t all that careful during preparation.
Sure, you won’t achieve coffee brewing perfection this way. However, I do think that any equipment that makes it easier for you to get started is a good idea. Because, even using permanent filters, you still have use freshly ground coffee, maintain the right temperature and experiment with your coffee recipe.
I’m very interested in what you’d still like to know or have to contribute on the subject of pour-over coffee and manual coffee drippers. Please continue to leave me your comments below!
FAQs
To make pour over coffee at home, use a 1:15 brew ratio and a medium-fine grind size. Make sure to rinse the paper filter and pre-warm the dripper. Then, using a gooseneck kettle, pour slowly using circular motions, ensuring all the coffee is evenly extracted.
The ideal ratio for pour-over coffee is anywhere from 1:14 to 1:20 (coffee to water).
One tablespoon of coffee is roughly 6 grams of coffee, so use this as a guide when you’re calculating your brew ratio.