


If the phrases coffee maker cleaning and espresso machine cleaning make you break out in a cold sweat, I’m here to reassure you.
In reality, cleaning and descaling your machine isn’t a big deal whatsoever. That said, knowing how to properly care for your coffee equipment is vital.
Especially if you want to make the best coffee possible. And I just know that you do. Trust me, this won’t hurt a bit!
Table of Contents
Cleaning and Descaling Overview
Regular Coffeeness readers will already know that I’m a little obsessive when it comes to coffee maker cleaning. I don’t expect you to be quite as enthusiastic about the subject as I am. However, I do feel like everyone should know how to keep their coffee making equipment in good working order.
Frequent cleaning and maintenance prolongs the lifespan of your fully automatic espresso machine or drip coffee maker. What’s more, it means you can keep enjoying the best tasting coffee possible. With that in mind, I’ve developed this comprehensive guide to coffee maker cleaning. Heck, I’ll even throw in a guide to grinder maintenance.
You’ll find everything here from how to descale an espresso machine to the best equipment for keeping a burr coffee grinder in tip top condition. That said, I know that few of you will read this entire article just for the fun of it.
Anyway, the last thing I want is eyes glazing over and heads starting to nod. So, feel free to skip ahead to a section that’s relevant to your needs!
How Do Different Cleaners Actually Work?
Most cleaning tablets and powders have an acid base. All acids break down calcium and fat residues, and the added water removes those particles. Among other reasons, that’s why you must also rinse the machine at least once more after cleaning with tablets and powders. This ensures that even the last of the contaminant particles are flushed out of the machine.
There are also slight differences between the acids.
Citrate is very effective at dissolving calcium. However, when you heat citric acid, it readily forms waste breakdown products that can leave their own residues.
Citric acid–based cleaners are thus only moderately suitable to use with most super automatic machines. This is because you should use citric acid at lukewarm temperatures to prevent the formation of these breakdown products.
When used for cleaning purposes, acetic acid shouldn’t have a concentration higher than 25 percent. All acids cause irritation, especially when they are being produced chemically. However, in the case of highly concentrated acetic acid, even the vapor can burn the eyes, mucous membranes and skin. Not to mention bones.
Nevertheless, seeing as we aren’t in a mafia film, we don’t need to worry about this type of acetic acid. Not when cleaning automatic coffee machines, anyway. However, because acetic acid of even lower concentration levels also attacks stainless steel and other metals, you should take care when cleaning with this agent.
Lactic acid has antibacterial properties. That’s why it’s so widely used in many dishwashing detergents, hand soaps and other cosmetics. Lactic acid can break down water-insoluble substances, such as fat and calcium deposits.
This process then produces lactates (salts of lactic acid), which are water-soluble. Accordingly, lactic acid-based cleaning tablets for super automatic machines are particularly effective. Don’t worry, you can still confidently clean your machine with lactic acid cleaner, even if you’re lactose intolerant.
Besides lactic acid, surfactant-based detergents are the gentlest way to clean coffee machines. Although surfactants tackle calcium buildup rather poorly, they attack the fats in coffee residues very well!
This is because the chemical properties of surfactants make fats and other contaminant particles water-soluble. Thus, you can easily rinse out even coffee residues from deep inside your machine.
Cleaning and Descaling Fully Automatic Espresso Machines
It’s just a fact of life that you’ll need to develop a solid cleaning habit if you own a super automatic espresso machine. That said, once you get into the swing of things, maintaining one of these machines won’t take up too much of your time.
However, don’t wait for something to go wrong before attempting to clean your coffee maker. Not only that, pay attention to your machine when it instructs you to initiate a maintenance program!
For those of you who imagine buying a machine with automatic cleaning functions will get you off the hook, think again. Sure, automatic programs are cool to have. Still, you’re going to have a part to play too.
Daily Cleaning for Super Automatic Espresso Machines

Just remember that the inside of your super automatic is a moist environment with coffee, steam and milk floating around. In other words, it’s a potential playground for mold, bacteria and other rapid growing beasties. With that in mind, there are a few tasks you should take care of at the end of each day:
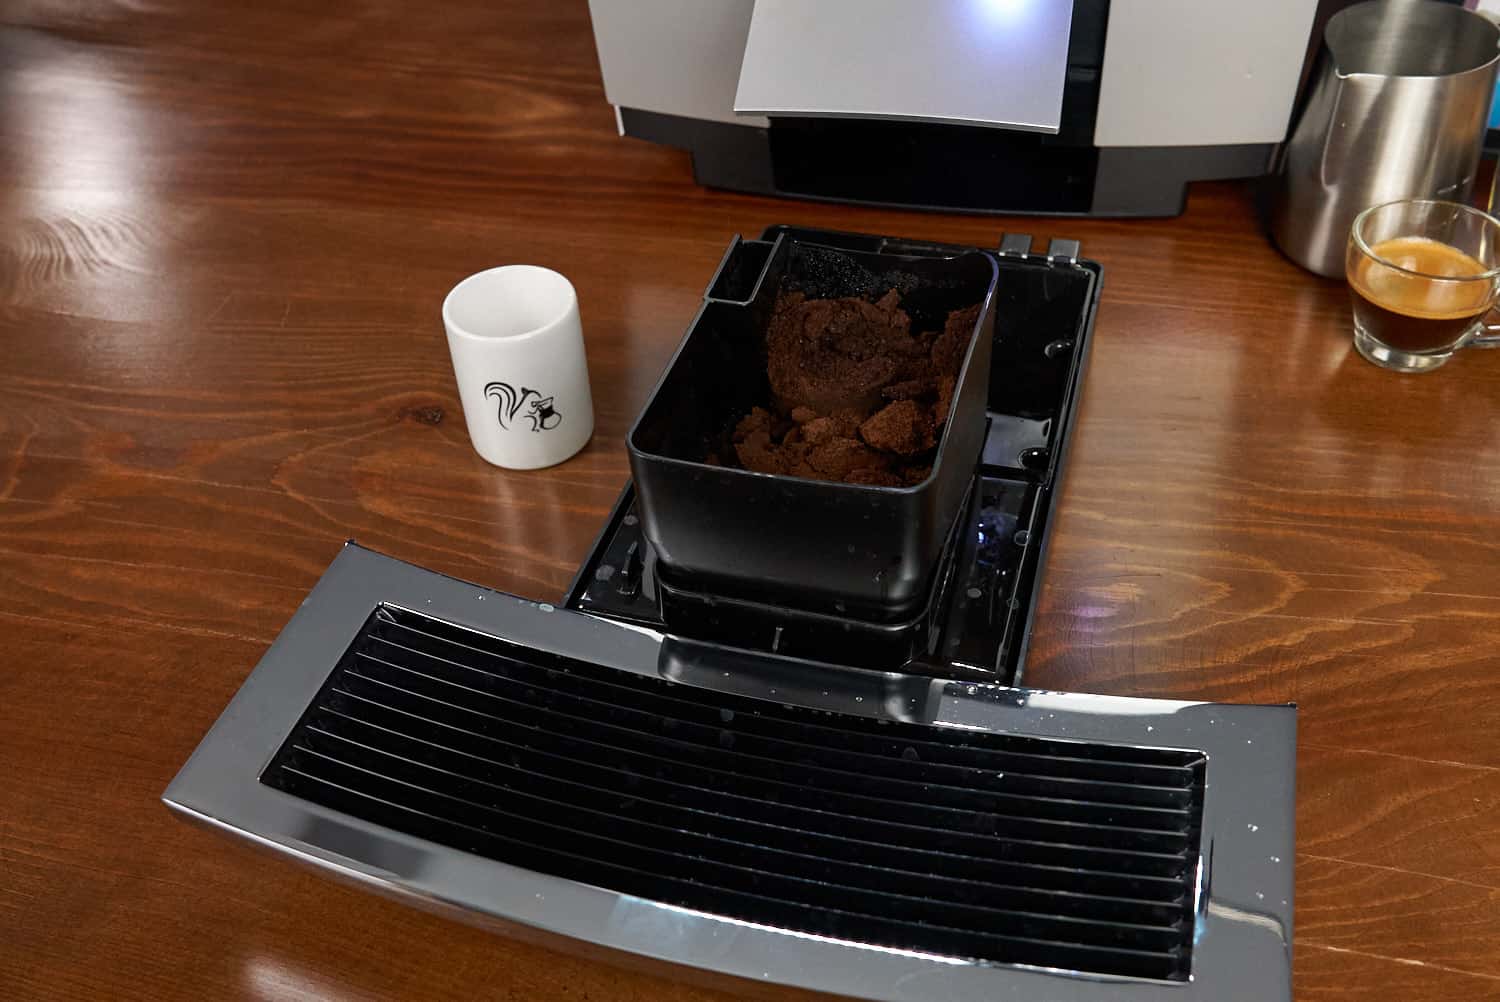
Empty and rinse the dregs drawer and drip tray. The machine will let you know when these are full, but empty them anyway. The good news is that these can usually be put in the dishwasher.
Remove the brew group and rinse under warm water. What’s that I hear you say? Not all brew groups are removable? Well, you’re right. Jura coffee machines have permanently installed brew groups. Anyway, a removable brew group should be cleaned every day and left to dry overnight.
Remove the water tank, empty it and rinse with hot water. After all, who wants algae growing in their water tank? Gross! Again, allow the tank to air dry before refilling.
Clean the milk system. More on that coming up lickety split.
I think we can all agree that none of the above sounds too involved. In fact, I can usually take care of my end of the day routine in about five minutes. However, there’s more to it than that – you’re going to have to go deeper sometimes.
Every machine is different and manufacturers can’t seem to agree on how often deep cleaning should happen. That’s why I always recommend consulting your user manual, just in case. Anyway, let’s take a look at what else needs to be done to keep your super automatic machine performing at its best.
Automatic Espresso Machine Milk System Cleaning
I probably don’t need to tell you that milk residue can get nasty pretty quickly. That’s why it’s super important to keep milk systems clean and hygienic.
If your automatic espresso machine has a metal steam wand, make sure you wipe it off with a damp cloth after every use. Oh, and don’t go wiping down counters with that damp cloth, either; cross contamination is real.
Every few days, soak the steam wand in a mixture of water and milk frother cleaner. That’ll take care of any stubborn residue and keep things sparkly clean!
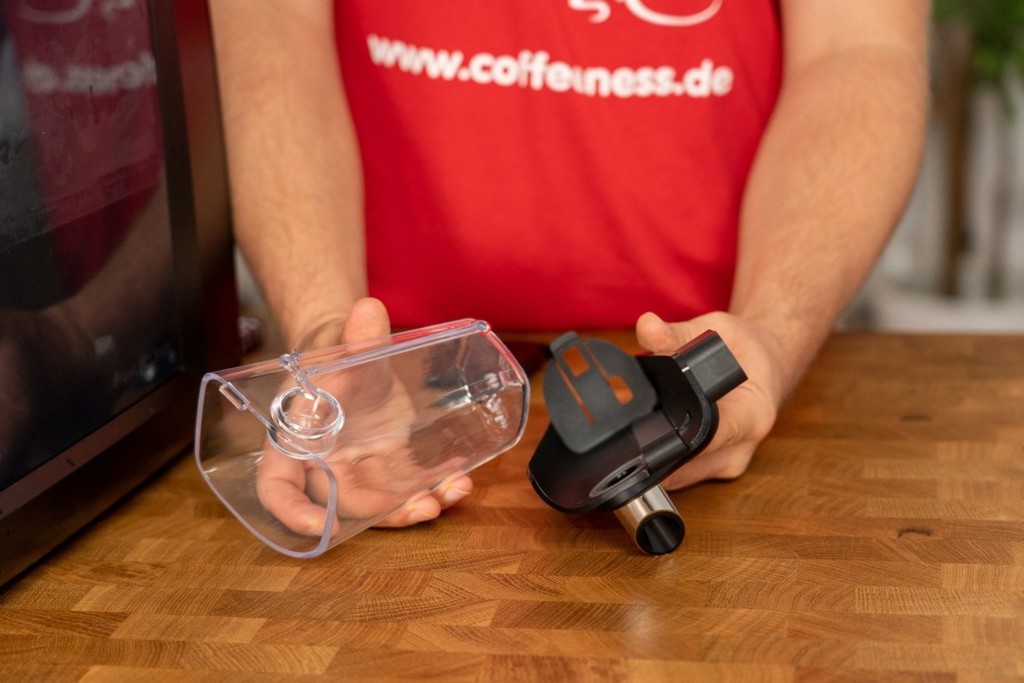
Automatic milk frothing systems should be fully dismantled and rinsed at the end of each day’s use. That goes for any cappuccinatore or integrated milk carafe, whether or not it has an automatic cleaning function.
When it comes to deep cleaning an automatic milk system, I’d say once a week is sufficient. Use a milk circuit cleaner to flush the system of anything nasty that may be hiding in there.
Automatic Espresso Machine Coffee Circuit Cleaning
Regular coffee circuit cleaning is of vital importance. Especially if you own an automatic espresso machine with a non removable brew group. Yes, I’m talking to you, Jura owners!
Still, even machines with removable brew groups experience a buildup of coffee oils in hard to reach places. With that in mind, it’s a good idea to run a cleaning cycle using espresso machine cleaning tablets once a month or so.
Automatic Espresso Machine Descaling
Most of the models in my best super automatic espresso machine guide give you the option to use a water filter. That’s all well and good. But the fact remains that limescale will build up over time and you will need to descale your machine.
Depending on the hardness of your water, I’d say you can expect to descale around once every three months. Fortunately, your machine will let you know when descaling is needed and guide you through the process.
Of course, manufacturers warn against using anything other than their specific descalers. However, I recommend Urnex Descaler as a safe and affordable alternative.
Automatic Espresso Machine Cleaning and Descaling by Manufacturer
When you buy your super automatic espresso machine, the manufacturer usually includes one to three cleaning tablets and descaling powder sachets. In the machine’s user manual, the manufacturer will also state that the product warranty will only be fully valid if you use original cleaners.
The fact that these original cleaners cost 10 times as much as competitor products is, firstly, part of the marketing ploy and, secondly, often not disclosed. The descaling agents for Delonghi, Gaggia and Jura coffee machines don’t do a better job than generic products just because they’re more expensive.
Yes, I think that the manufacturers’ prices for cleaning agents are overblown. However, it does make sense to at least utilize cleaners with the same ingredients – even if you buy cheaper alternatives. I think the same approach also applies to the cleaner’s physical form. Does the manufacturer supply tablets, powder sachets or a liquid cleaning solution? When you’re buying cheaper cleaning agents, I’d go with the same.
The cleaning agent and descaling tablet samples included with your machine can provide a good reference point for subsequent purchases. Still, from my point of view it’s completely pointless to invest horrendous sums of money in cleaners simply to have the manufacturer’s name on the packaging.
Automatic Espresso Machine Cleaning and Descaling FAQ
Automatic espresso machine cleaning involves using coffee cleaning tablets to rinse the coffee circuit, descaling agents to remove limescale and a damp cloth to wipe down the exterior. You should refer to the user manual for more detailed information.
There are a number of products available for automatic espresso machine cleaning. However, each manufacturer recommends its own specific descaler.
Cleaning an automatic espresso machine with vinegar isn’t recommended as it could damage the pipework inside the machine.
Cleaning an automatic espresso machine with baking soda can be a great way to remove coffee oil buildup. However, using too much baking soda could clog up the inside of your machine.
Cleaning and Descaling Espresso Machines
You’ll be happy to hear that cleaning and maintaining an espresso machine is a piece of cake in comparison to a super automatic coffee maker. Whether you’re using a semi automatic or the best manual espresso machine, it takes very little work to keep things in good order.
Still, don’t imagine you can abandon all thoughts of hygiene and routine – there are plenty of things to take care of. Plus, there’s water involved so you aren’t off the hook as far as descaling goes.
Espresso Machine Maintenance
Depending on the machine, I generally recommend up to six different cleaning steps, which you have to perform with varying frequency and intensity:
Before, between and after each espresso shot
Quickly clean and dry portafilter handles and baskets
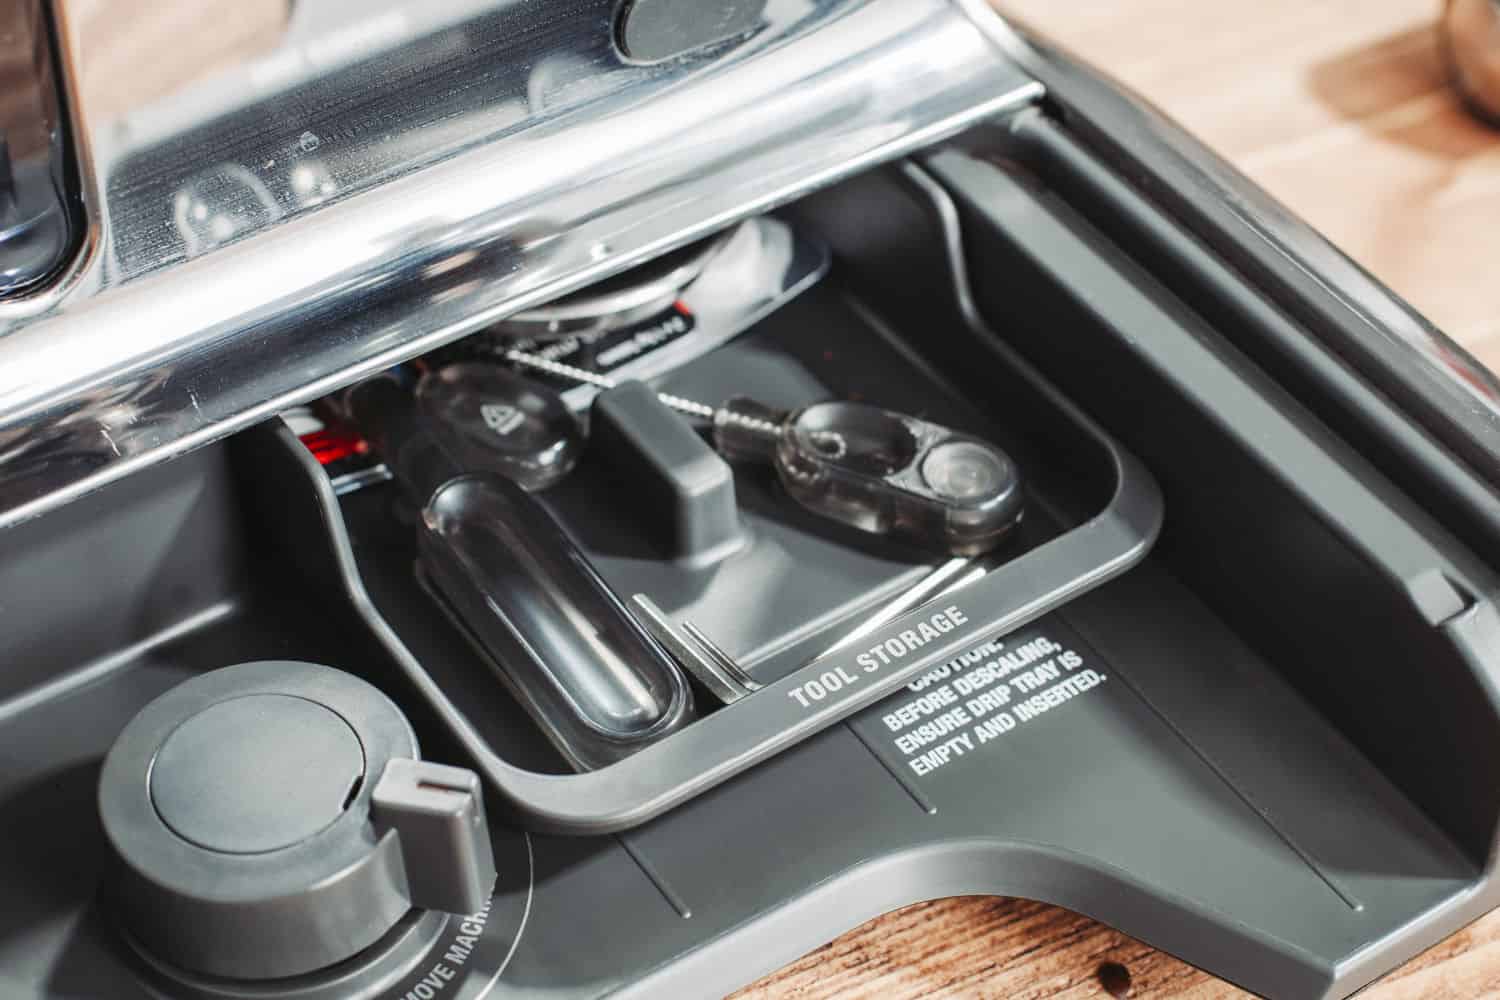
Remove coffee residues from the brew group with a special brush, such as a Pallo Coffee Tool
Flush the brew group. Let a little hot water pass through the machine without attaching the portafilter
Before, between and after frothing milk
Clean and dry milk pitchers
Quickly purge the steam wand
Remove milk froth residue from the wand’s exterior with a clean, damp cloth reserved especially for the purpose
Every time you top up the water
Briefly rinse the tank before refilling
At the end of a day’s use
Flush and brush the brew group
Deep clean and dry all removable components (baskets, handles, water tank, milk pitcher, drip tray, espresso tamper, knock box, etc.)
Thoroughly clean the steam wand
Once a week, depending on frequency of use
Backflush the brew group with a blind basket
Once a month, depending on usage levels
Backflush the brew group with a blind basket
Apply special powder detergent to remove stubborn coffee oils
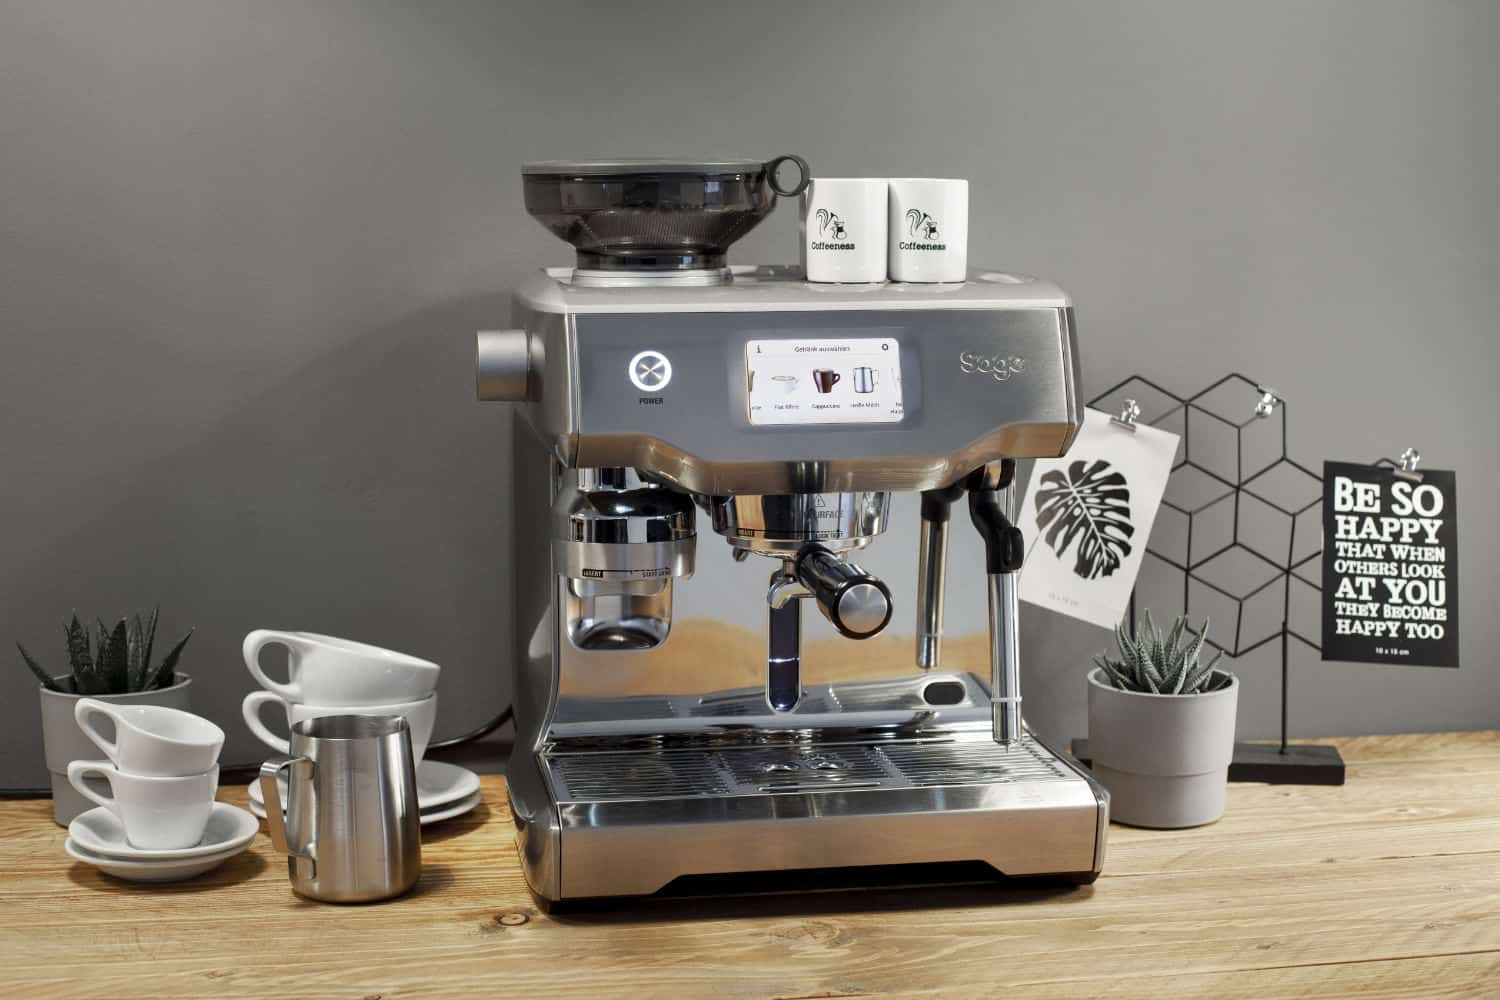
Of course, some of the machines in my best home espresso machine guide are hybrid models with a grinder on board. The Breville Oracle Touch and DeLonghi La Specialista both immediately spring to mind as great examples of this type of hybrid machine.
Obviously grinder maintenance and cleaning are of the utmost importance, so you’ll find a section dedicated to that subject later in this article. In the meantime, let’s take a more in depth look at a few espresso machine cleaning tasks.
Backflushing Espresso Machines

Although I just recommended you backflush your espresso machine’s brew group on a weekly basis, feel free to do this as often as you like. It’s not as if you’ll damage the machine by doing so. Successful backflushing calls for a blind basket, which has no holes whatsoever. That means water can’t escape and it has to circulate in the group head instead.
At this point I should gently remind you not to leave the blind basket in the machine with the brew group engaged. Your machine’s pump won’t thank you for that kind of pressure test!
Anyway, backflushing is especially effective when used in conjunction with an espresso machine cleaner. Puro Caff is one of the most popular brands among professional baristas, but Urnex Cafiza should work just as well.
Simply add a pinch of the powder to the blind basket, lock the portafilter in place then engage the brew group for around 10 seconds. Empty the basket then keep repeating the process until the water runs clear.
Cleaning Espresso Machine Steam Wands
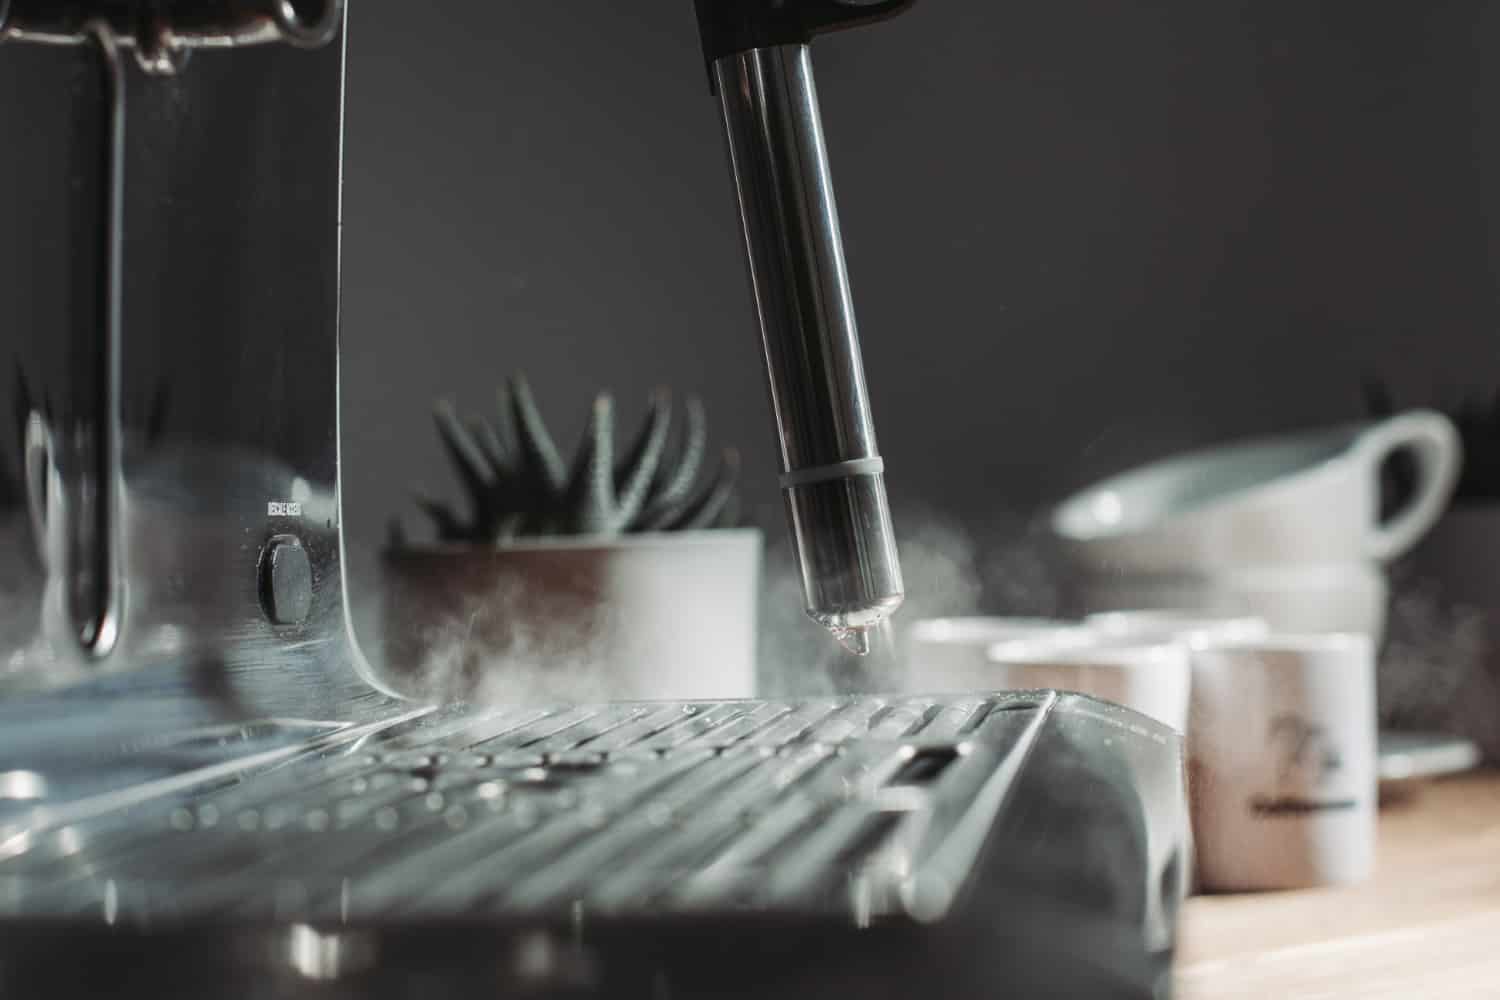
As long as you thoroughly clean your steam wand after each use, you shouldn’t experience much nasty buildup. However, it is a good idea to submerge the steam wand in a mixture of water and milk frother cleaner every few days.
Leave it to soak for 20 minutes or so, then purge the steam wand for a few seconds. Oh and don’t worry – dairy cleaner solution is perfectly food safe. That said, I wouldn’t recommend testing this out by chugging a bottle of the stuff!
Descaling Espresso Machines
Descaling an espresso machine isn’t the pain in the rear end you might imagine it to be. In fact, depending on the hardness of your water and how often you use the thing, you shouldn’t need to descale more than once every couple of months.
Keeping an eye on your machine’s outward appearance will help you gauge the situation. When you spot mineral buildup in the coffee, on the portafilter handle or brew group, it’s almost too late.
Start by putting the descaler in the water tank or a bowl and allow all the moving parts to soak for the appropriate length of time. You should soak portafilter baskets and handles for about 30 minutes,then thoroughly wash and dry them.
Fill the reservoir with water and the appropriate dose of descaling powder before leaving it to stand for a similar length of time. The same goes for milk wand tips (the kind that unscrew) and filter screens.
If you own a manual espresso machine such as the La Pavoni Professional, consider using an eco friendly citric acid descaler. Seeing as the La Pavoni boiler is nickel plated you can use citric acid with confidence.
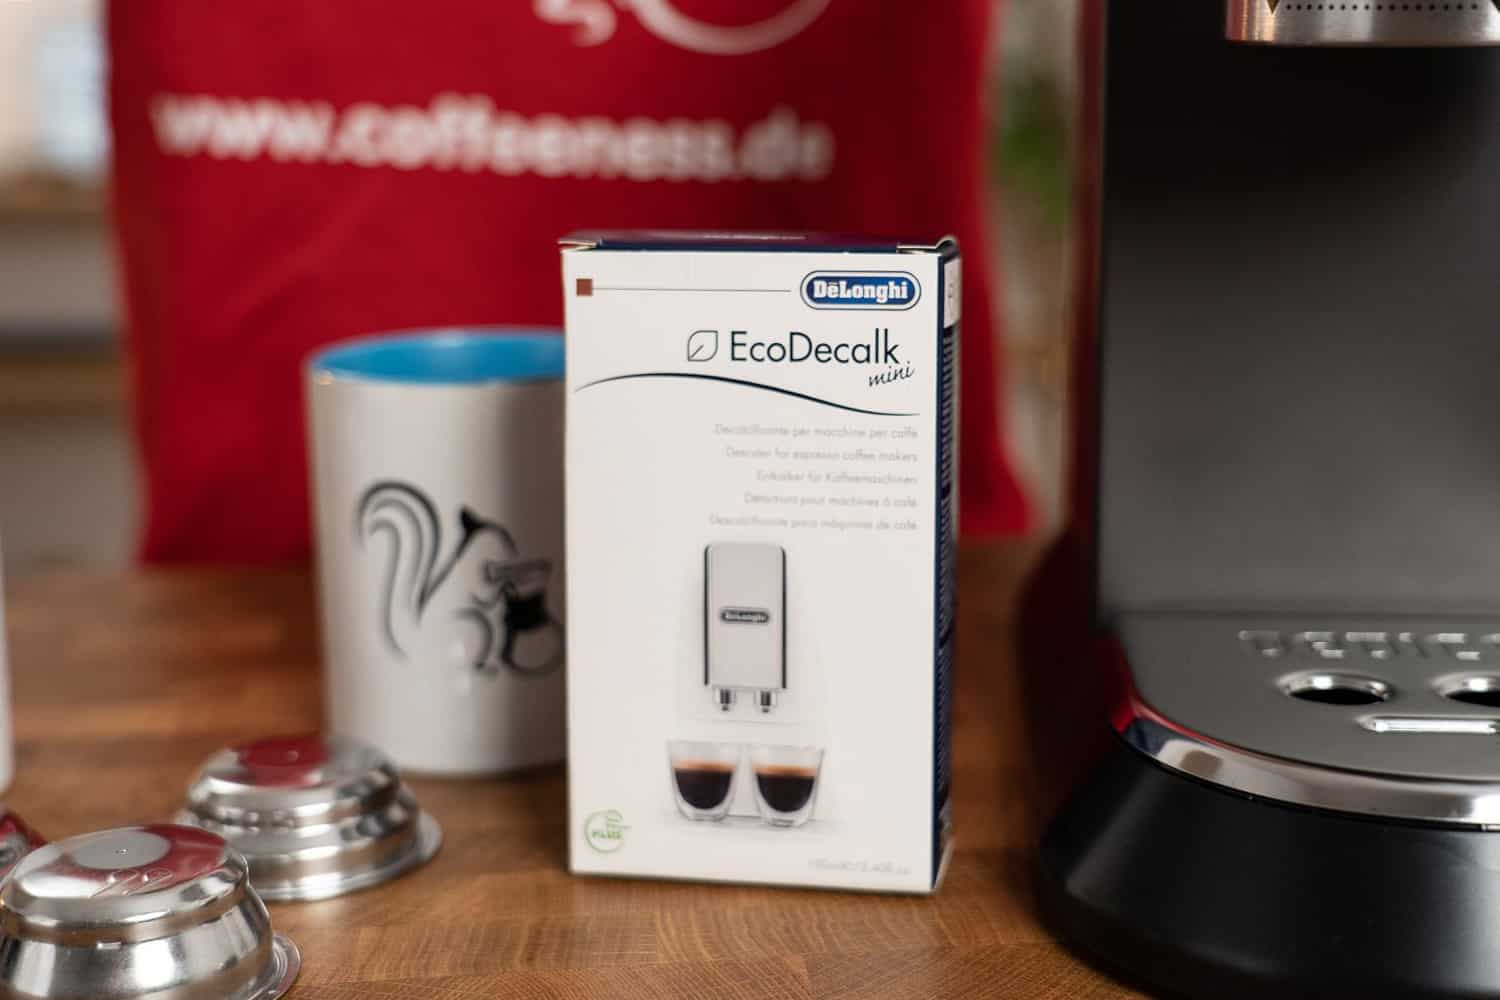
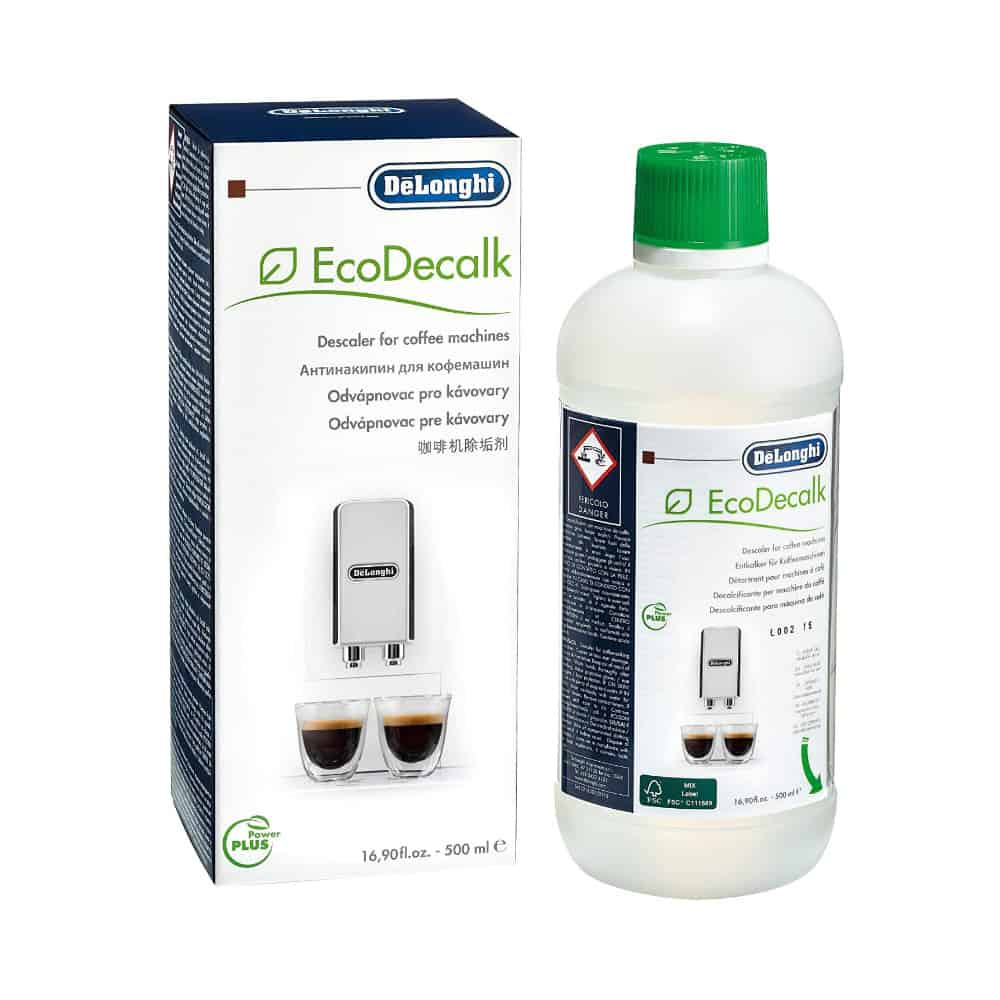
However, this isn’t a good choice for espresso machines with aluminum boilers because the citric acid can cause them to corrode. Instead, consider using DeLonghi EcoDecalk Descaling Solution which is a solid eco friendly option.
Espresso Machine Cleaning and Descaling FAQ
To descale a Breville espresso machine, dissolve the Breville descaling powder in warm water and add it to the water reservoir. Follow the manufacturer’s instructions on how to initiate the descaling program.
Cleaning a Breville espresso machine with vinegar is perfectly safe, but too much vinegar could damage internal gaskets and seals.
There are a number of commercially available products for natural espresso machine cleaning. You can also consider using baking soda, which is safe and affordable.
A clean espresso machine is a happy espresso machine. If you don’t clean your espresso machine on a regular basis, your coffee will start to taste bitter. Plus, the machine’s internal mechanisms could become clogged.
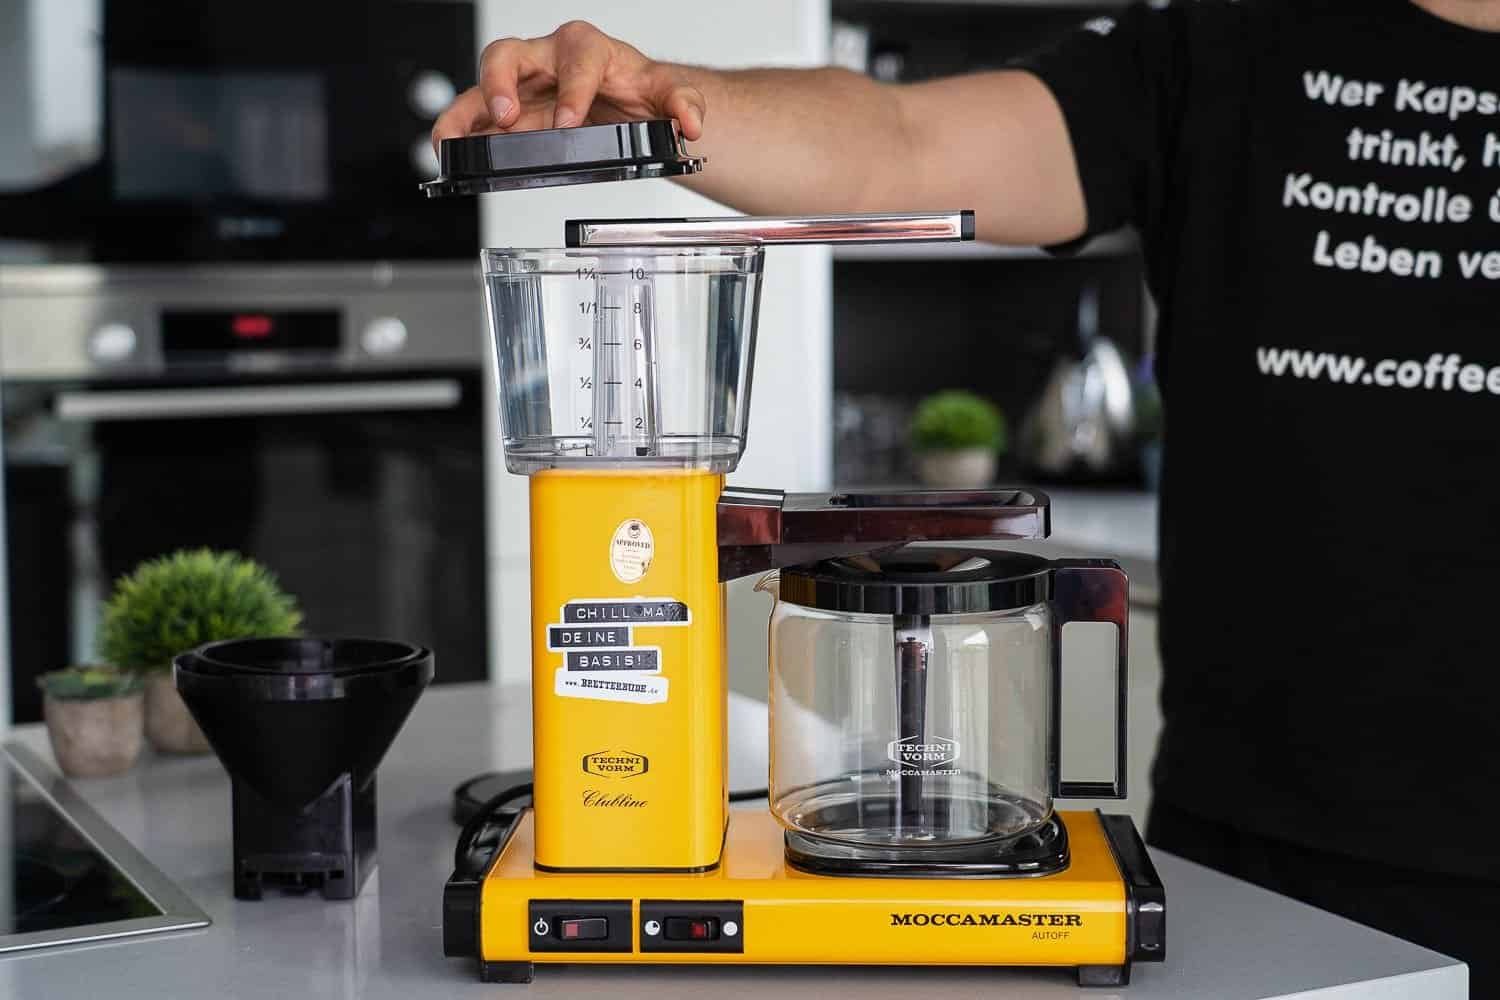
Cleaning and Descaling Drip Coffee Makers
In the old days, people rarely thought about coffee maker cleaning. It’s little wonder these poorly treated machines choked and gurgled as if the world was about to end! I can only imagine how much gunk, mold and limescale was hanging out in there and impeding the brewing process.
I like to think that we all care a lot more about the quality of our coffee these days. Plus, drip coffee makers have come a long way in recent years – check out my best drip coffee maker guide if you want to see some seriously awesome machines.
In reality, most coffee makers are about as low maintenance as it gets, no matter how sophisticated they might be. Still, there are plenty of nooks and crannies where moisture and coffee grounds can get the mold party started. That’s why it’s important to wash and thoroughly dry all removable parts on a regular basis. I’m talking about showerheads, brew baskets and permanent filters.
Even if a manufacturer says removable parts are dishwasher safe, I advise against it. Trust me, rinsing under warm water and using a little mild detergent will do the job nicely. That goes double and triple for a thermal carafe. Putting one of these in the dishwasher will cause terminal damage.
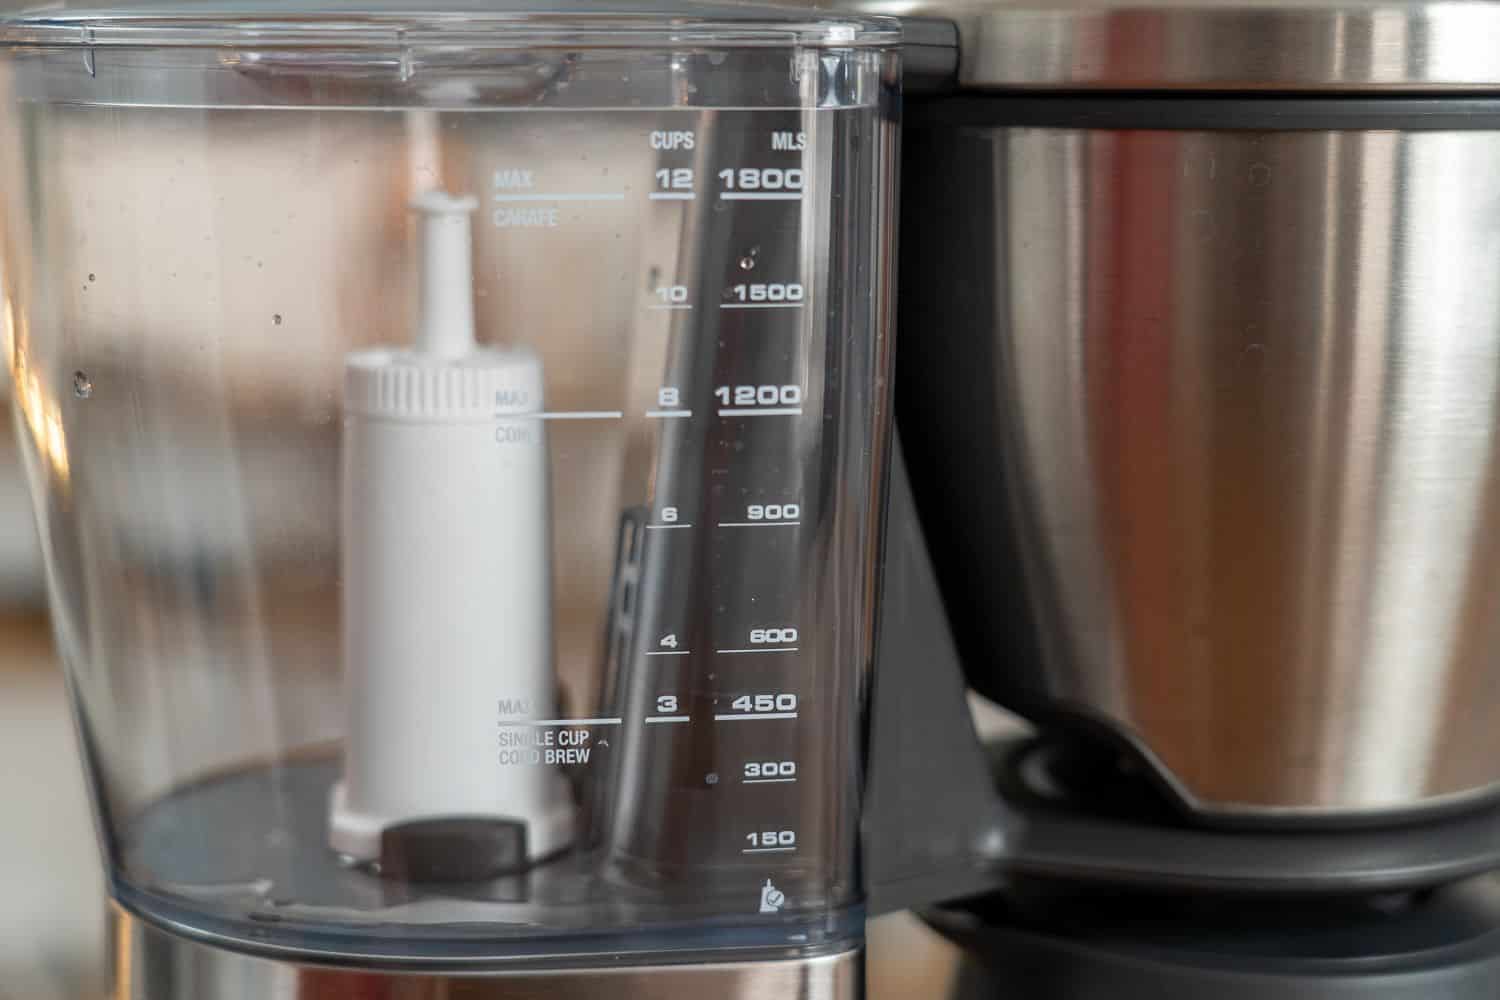
How To Descale a Drip Coffee Maker
Let me start by gently reminding you to always use filtered water when making coffee. It’s right up there with choosing the best coffee beans and grinding them fresh in terms of importance. With that said, you’ll need to descale your coffee maker on a regular basis, no matter how well filtered your water may be.
Limescale and coffee residues build up over time and if you don’t address the issue you’ll notice a dip in your machine’s performance. Not only that, your coffee won’t taste as good as it should, which is just tragic!
Manufacturers all have different opinions about how often you should run a coffee maker cleaning cycle, but it really comes down to how often you make coffee and the hardness of your water.
Anyway, many of the better coffee makers will let you know when it’s time to descale. For example, the Ninja CM401 Specialty Coffee Maker has a Clean button which lights up when the time is nigh. Take it from me, it’s best not to ignore the warning!
All coffee makers are different, so it’s a good idea to check the user manual for information on how to descale. However, the process is almost always the same:
Simply fill the water reservoir with a mix of water and white vinegar or descaling solution and run a full brew cycle.
Once you’ve done that, run a couple more brew cycles using only water to flush the machine of any remaining residue.
I’ve said it a million times before, but it bears repeating: don’t skimp on descaling! It isn’t a big deal, it won’t take up much of your time and it’ll prolong the life of your coffee maker.
Top 5 Descalers for Drip Coffee Makers
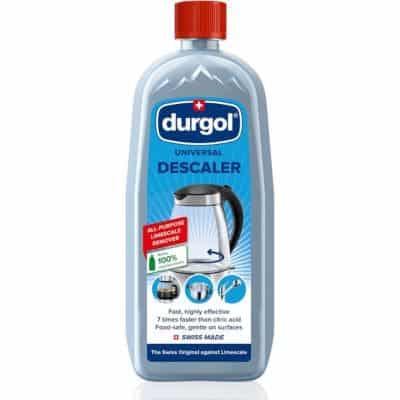
Environmentally friendly
Made in Switzerland
Good value
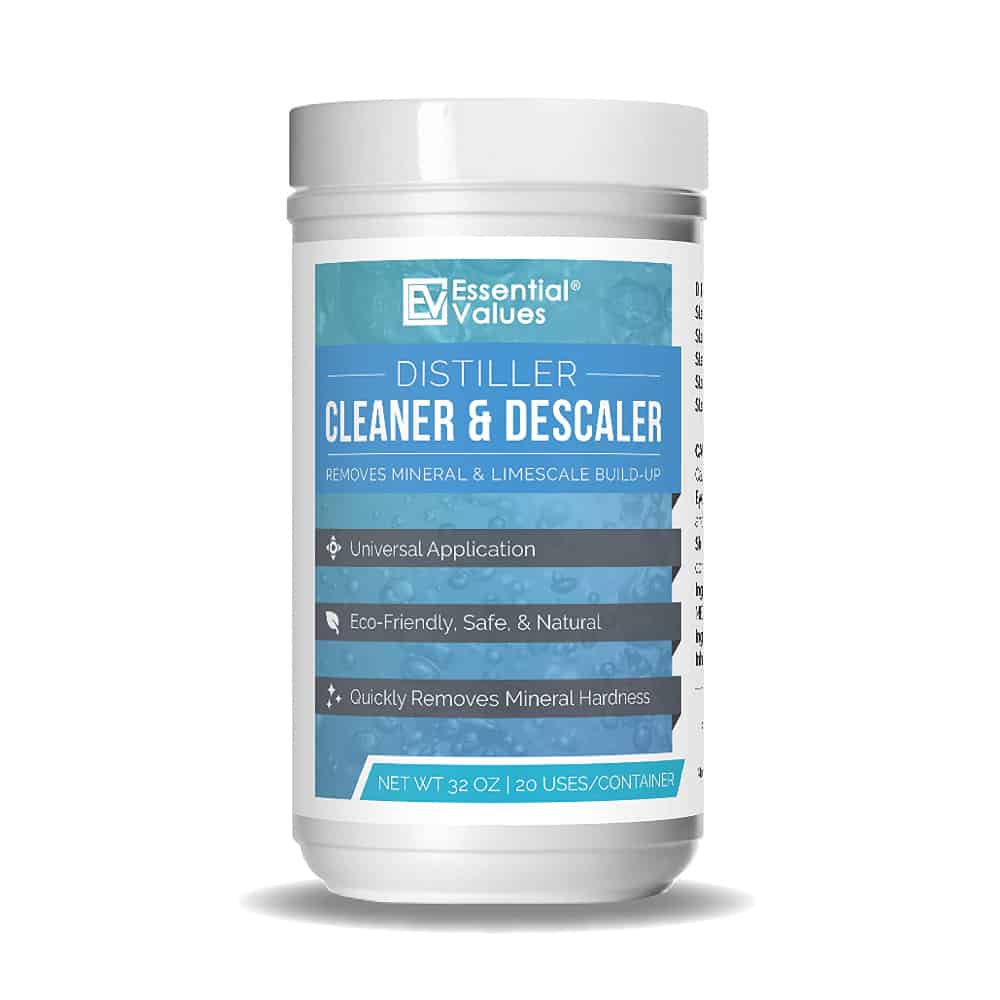
Eco friendly
20 uses per container
Works really well
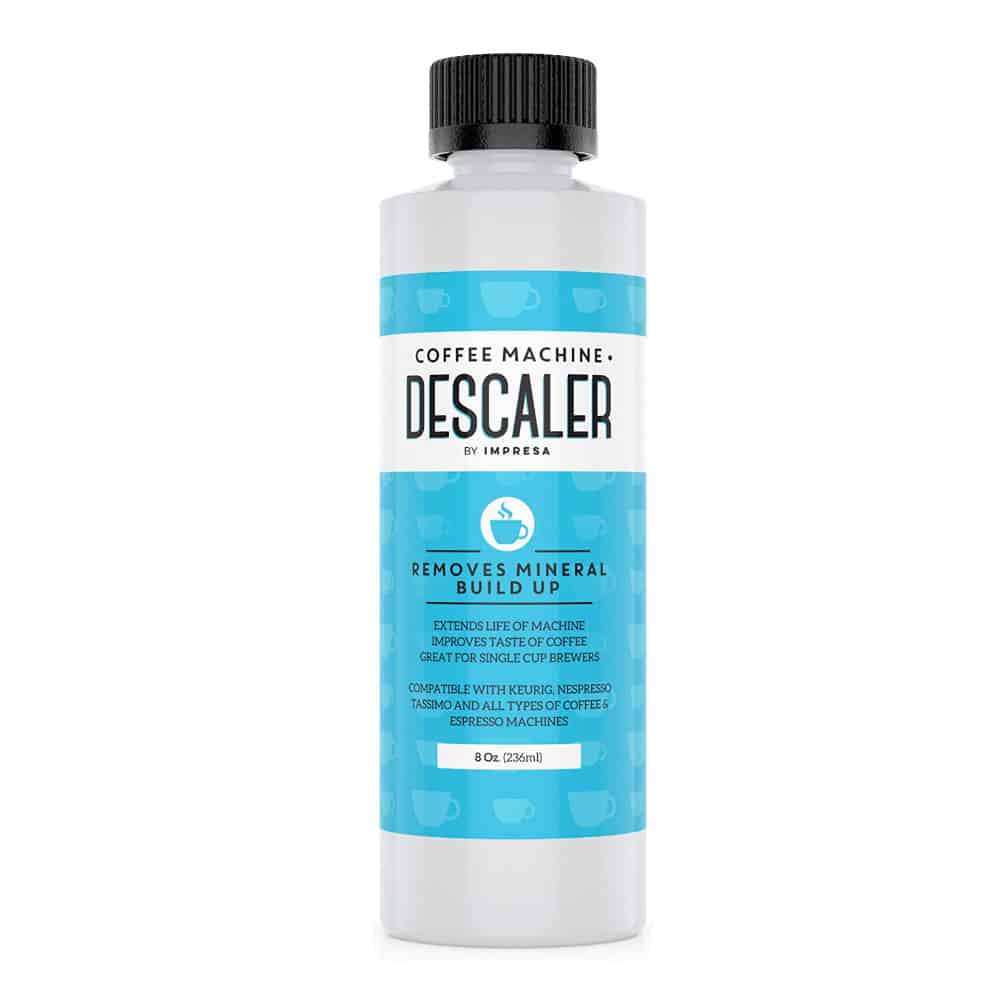
Made in USA
Suitable for any machine
Highly effective
Drip coffee Maker Cleaning and Descaling FAQ
You can take care of coffee maker cleaning by using a commercial descaler or a mix of water and white vinegar.
Coffee maker descaling works best with a commercial descaling solution.
Coffee maker cleaning with vinegar is a perfectly good way of reducing limescale buildup inside your machine.
Cleaning a coffee maker with white vinegar will give the best results.
If you’re wondering how to clean a Cuisinart coffee maker like the Cuisinart 14 Cup coffee maker, you should use equal parts white vinegar and water.
Cleaning Coffee Grinders

It almost goes without saying, but I’ll say it anyway: using a decent coffee grinder is essential to getting good coffee from whichever brew method you’re using. I’m not talking about a cheap blade grinder, either. I’d almost prefer that you use pre ground coffee rather than subject your beans to the humiliation of being sliced up willy nilly by rotating blades!
Anyway, if you’re currently without a way to grind coffee, check out my best burr coffee grinder guide for some inspiration. While you’re at it, check out my guides to the best espresso grinders and best manual coffee grinders.
Keeping your burr coffee grinder clean and well maintained is super important. Over time, coffee oils and stray grounds build up throughout the grinder. Needless to say, it doesn’t take long before your cup quality takes a nose dive thanks to all that stale and rancid nastiness.
Fortunately, cleaning a grinder is easy peasy and won’t take up much of your time.
I recommend using Urnex Grindz cleaning tablets on a regular basis to eliminate stale grounds and lingering oil residues.
If you’re using a super automatic espresso machine, go for Urnex Supergrindz instead. These have been specially designed for use in the grinders of super automatics.
By the way, do yourself a favor and wipe out your grinder’s hopper before adding a new batch of coffee beans. You can use a paper towel to take care of any coffee oils that have been left behind.
Cleaning a Coffee Grinder’s Burrs
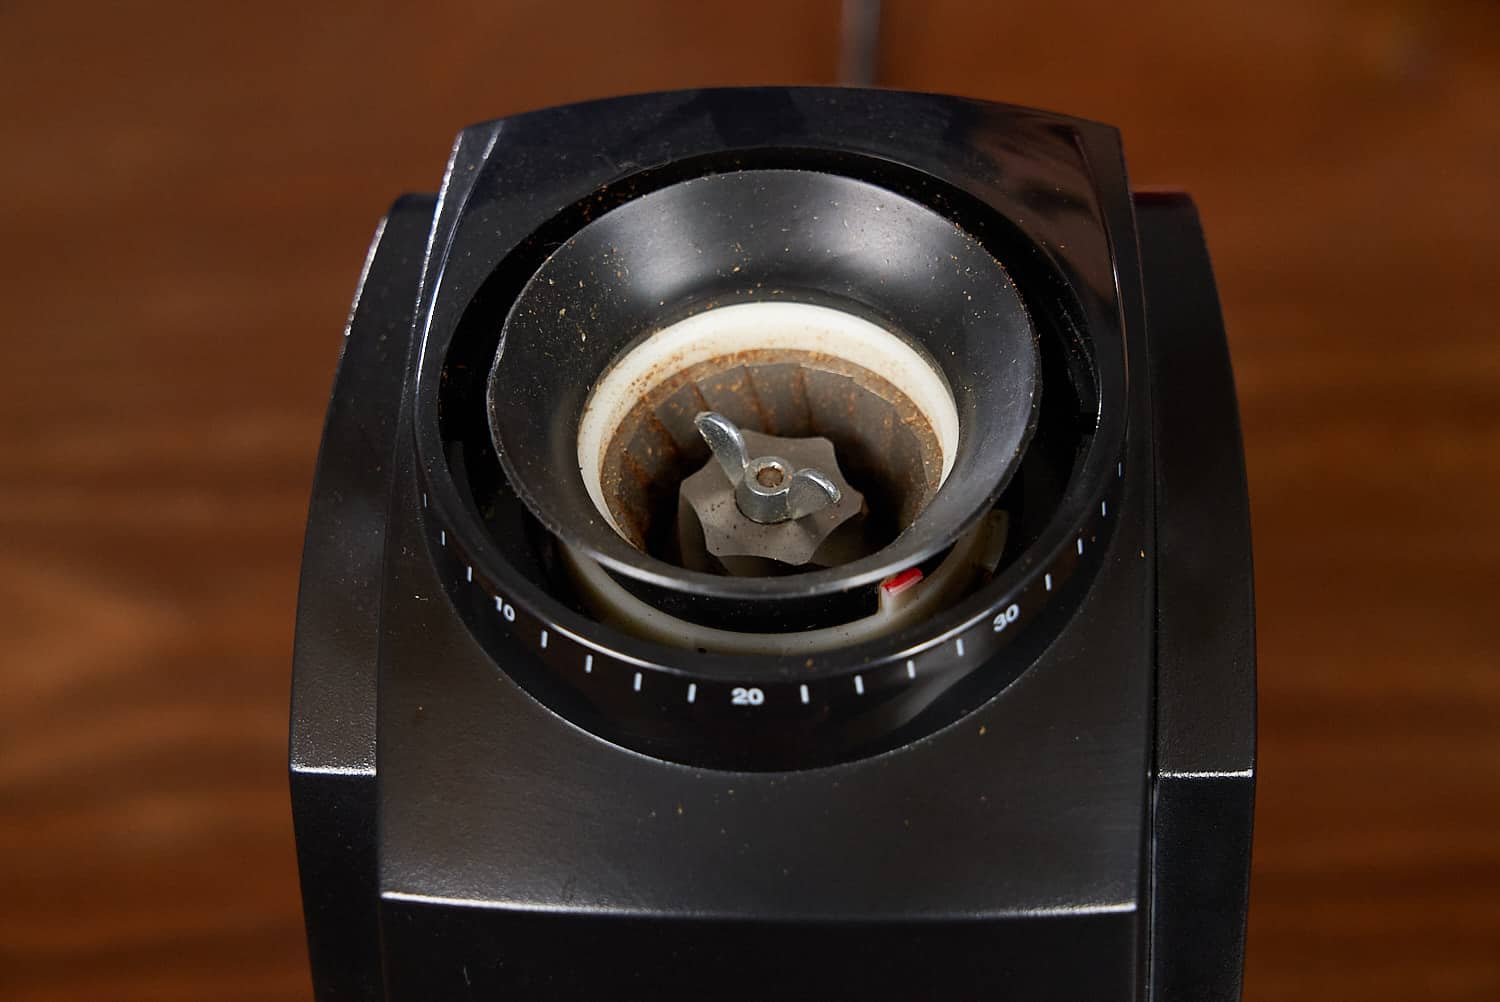
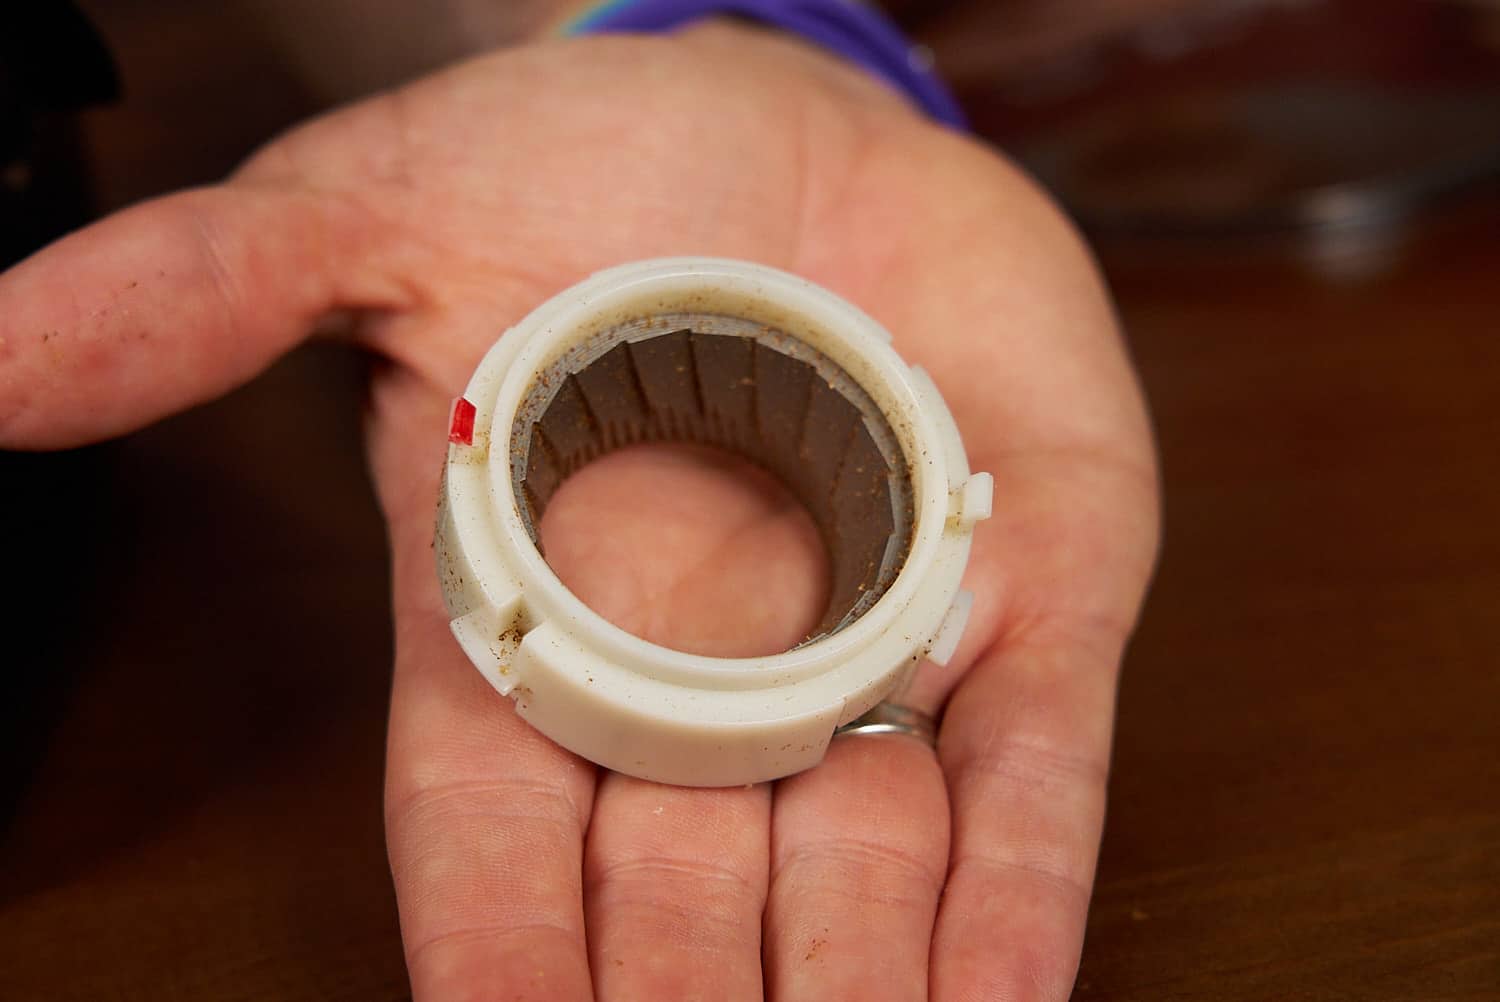
If you use your burr coffee grinder as much as I do, it won’t take long for the burrs to become impacted with fine coffee grounds. This affects the grinder’s ability to deliver consistent results and your coffee will suffer the consequences.
A standalone coffee grinder like the Baratza Encore has an easily removable top burr which you can take out and clean with a coffee grinder brush. While you’re at it, get into the grinder chamber, ground coffee chute and grounds chamber to remove as much excess dust, beans and ground coffee as possible.
While a brush will do a decent job, I prefer using a vacuum cleaner. A small Brigii Mini Vacuum does a great job of cleaning hard to reach places. Anyway, cleaning a grinder this way is incredibly satisfying!
Coffee Grinder Cleaning FAQ
To deep clean a coffee grinder, use grinder cleaning tablets then remove the upper burr and brush it off. Next, use a vacuum cleaner to remove dust and coffee grounds from the grinder chamber, dispensing chute and grounds bin.
You should never put your coffee grinder in the dishwasher. However, any parts that are labeled as dishwasher safe can be put on the top shelf and washed using the gentle cycle.
Using rice to clean a coffee grinder isn’t recommended, as it will dull the burrs and create dust inside the grinder.
You don’t need to clean a coffee grinder after every use, but it’s a good idea to clean the burrs once a week or so. Every couple of weeks, deep clean your coffee grinder using a brush and a vacuum cleaner.
Final Thoughts on Cleaning and Descaling
If you’ve just made it through this entire article from start to finish, allow me to congratulate you! You’re now officially an expert on cleaning and maintaining coffee gear.
Of course, if I’ve missed anything along the way I fully expect to hear from you. As always, I’ll update this guide with any relevant information as it comes to my attention.
For those of you who have been neglecting your coffee maker cleaning duties, I hope this guide can be the first step to mending your ways. I promise you’ll thank me once you taste the difference a clean, happy machine can have on the quality of your daily cup of joe!
I hope you’ve found this crash course on coffee maker cleaning and descaling useful! Please let me know in the comments if you have any questions or suggestions.