AeroPress Review: I Love It So Much!
Although the AeroPress Coffee Maker might look vaguely inappropriate, it makes really good coffee. Find out what's so special about this preparation method and why the AeroPress is so popular. I've also included step-by-step instructions for perfect cup results every time.


Updated on: 19. December 2025 Facts checked by Nicholas Marshall
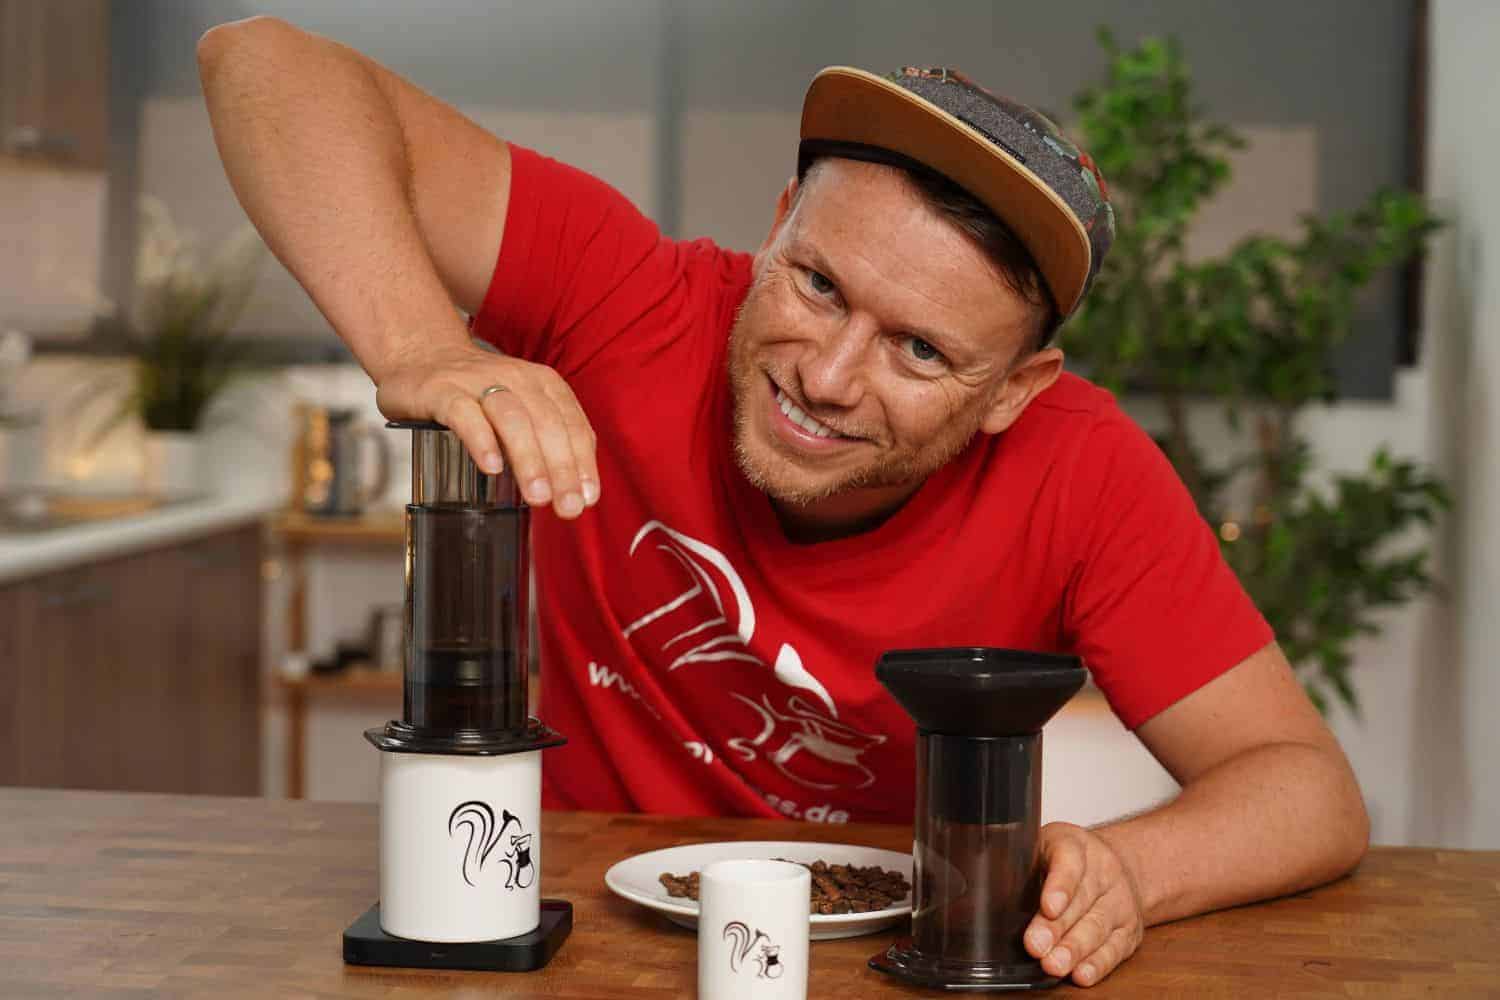
Hi! My name is Arne. Having spent years working as a barista I'm now on a mission to bring more good coffee to the people. To that end, my team and I provide you with a broad knowledge base on the subject of coffee.
Clearly explained: Our review process
I can’t remember when exactly I first picked up an AeroPress Coffee Maker, but I was immediately fascinated by this strange device with its many individual parts. In this updated AeroPress review I’ll tell you all about this special preparation method’s features.
This manual brewing method isn’t just an unnecessarily complicated version of other (simpler) options. In reality, it conjures up a completely one-of-a-kind coffee which, as a cross between light espresso and pressurized drip coffee, produces special flavors all of its own.
I’ve now revised the old brewing instructions, made them clearer and added a few updates to my original AeroPress review. That’s because after years of experience, I’ve come to an important conclusion:
Although this device might look complicated, it’s simpler than many of its kin. And it also enables you to try out a whole bunch of experiments and recipes.
Table of Contents
Overview: AeroPress Review
PROS
- Rugged and portable
- Very affordable
- Makes unique coffee
- Encourages experimentation
- Easy to clean
CONS
- All plastic parts
- Relatively steep learning curve
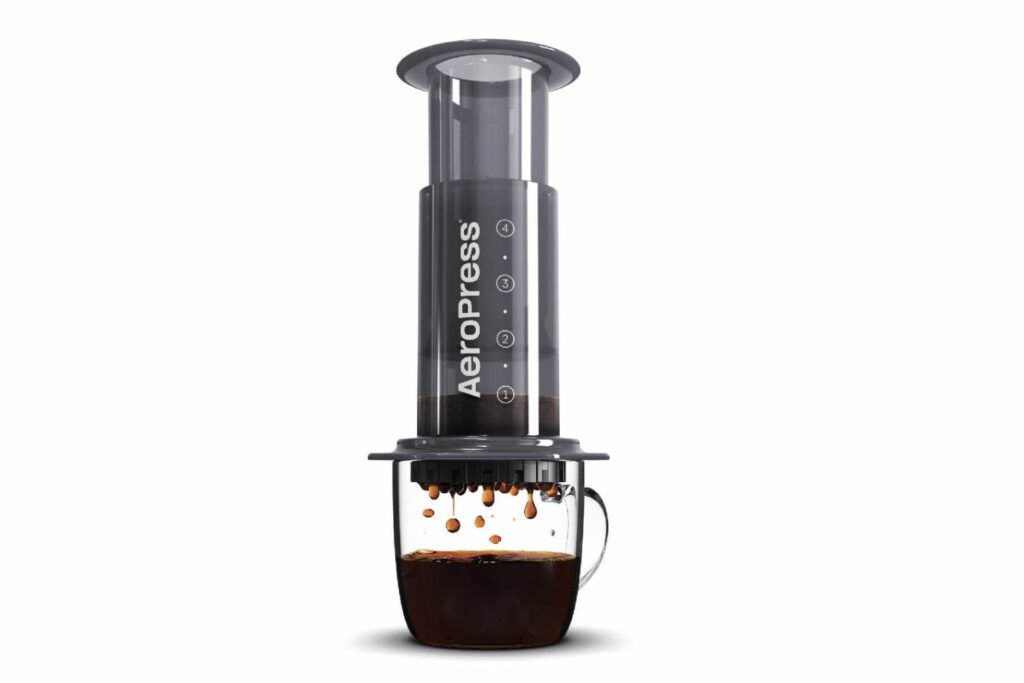
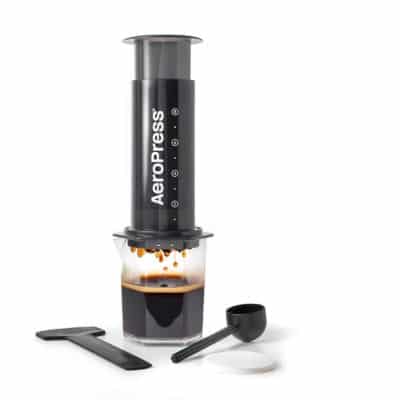
The AeroPress consists of three basic components:
Brewing chamber
Plunger
Filter cap with filter.
Where we’re heading in this AeroPress review becomes pretty obvious. The brewing chamber is perfectly designed for the full immersion method, whereby each and every coffee granule comes into constant contact with water for the entire duration of brewing. The AeroPress is comparable to a French press in this regard.
The plunger is also similar in design to that of a press pot, but thanks to the narrow brewing chamber, a little extra pressure is added as the finished coffee passes through the filter cap. This results in a kind of ultralight espresso style coffee.
The filter paper not only holds back the grinds, but also any oils and bitter compounds – just like with a conventional pour-over coffee maker.
These three touchpoints together produce a flavor and coffee style that is completely unique.
This was confirmed during my large-scale caffeine study in which I investigated the question “How much caffeine is really in your coffee?” With regard to absolute caffeine concentration, AeroPress coffee came in at fifth place, directly behind all the variations of espresso and stovetop moka pot coffee.
It also ranked fifth in terms of caffeine content per typical portion size, only surpassed here by the varieties of cold brew and cold drip as well as French press coffee.
The AeroPress has been around since 2006. Its developer Alan Adler is a true inventor in the style of Gyro Gearloose and holds more than 40 patents for all kinds of aerodynamic and electronic innovations.
I guess the AeroPress looks and works the way it does precisely for this reason. It’s more complicated than a French press, but way less complex than an espresso machine. It also encourages you to experiment with new methods and recipes.
Other AeroPress Models
The original AeroPress is now part of an extended family of AeroPress models. Here’s an overview of what’s on offer:
Clear Tritan construction
Sleek design
Suitable for batch brewing

Borosilicate glass brewing chamber
Stainless steel and aluminum components
Looks fantastic
Some folks (myself included) don’t really feel like the classic AeroPress needed any siblings. I mean, the original model is perfect in my opinion, and there’s a lot you can do with it. Still, I’m not at all surprised to see multiple variations on offer. After all, when did a manufacturer of a wildly successful product ever resist the temptation to make even more money?
On the other hand, perhaps I’m being overly cynical. Either way, let’s take a quick look at the lineup:
AeroPress Clear: Made of Tritan, a premium and durable BPA-free material that looks like glass. Tritan provides more friction, so the AeroPress doesn’t slip on your cup. Available in a variety of bright colors, this model allows you to have fun watching the brewing process in action.
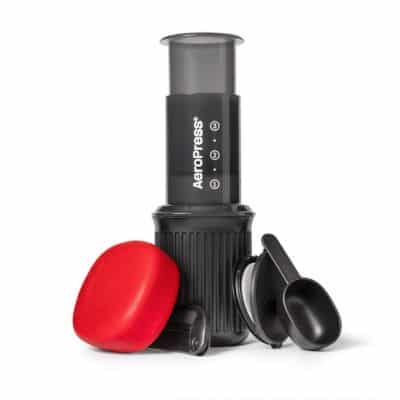
AeroPress Go: In my opinion, the AeroPress is already travel-friendly. Still, the manufacturer felt compelled to release the smaller AeroPress Go, which comes with a plastic mug and silicone lid. All for the inflated price of $42.81.
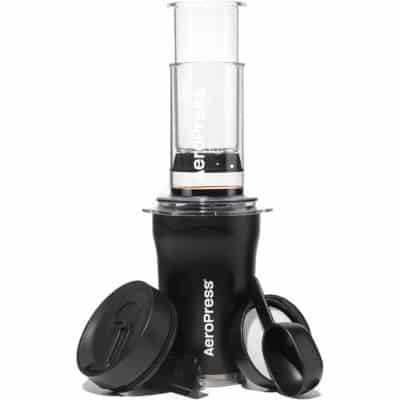
AeroPress Go Plus: Actually a really cool model, made of Tritan and including a premium travel mug with a magnetic lid. The brewer fits inside the mug, which also has a nifty secret compartment for accessories. Retails for $89.95.
AeroPress XL and XL Clear: This model has a larger 17-ounce (500-milliliter) capacity and can be used as a batch brewer. Costing $79.95, the XL comes with a Tritan carafe, and a small grinder can fit inside the chamber. It also allows more room for experimentation, thanks to its increased capacity.
AeroPress Premium: This model is slightly ridiculous given its $200.00 price tag. Still, AeroPress fanatics will love the double-walled glass chamber, stainless steel filter cap and aluminum plunger. Heck, it even comes with stainless steel accessories.
How Does AeroPress Coffee Taste?
AeroPress coffee is fundamentally very similar to French press. But unlike full immersion brewing using a press pot, the AeroPress filter prevents grinds from landing in the cup.

Besides, the required grind size is finer and the water flows through them with the aid of a plunger within a narrow chamber. So, you end up with a style of coffee more closely resembling espresso.
AeroPress coffee thus has less body, while at the same time retaining distinct drip coffee accents, without any crema. It’s nevertheless more full-bodied than the coffee produced by manual pour-over methods and has a more refined flavor than press pot coffee.
Take care though: using this coffee maker incorrectly or overdoing it in terms of the quantity of coffee per cup, will result in significantly more bitter compounds!
Which Coffee Should I Use With the AeroPress?
You have full freedom of choice when it comes to coffee beans, since the AeroPress effectively combines three completely different preparation methods. As always, I’m a fan of lighter, fruity varieties. In my experience, single origin coffees from Ethiopia and Rwanda work particularly well with this brewing method.
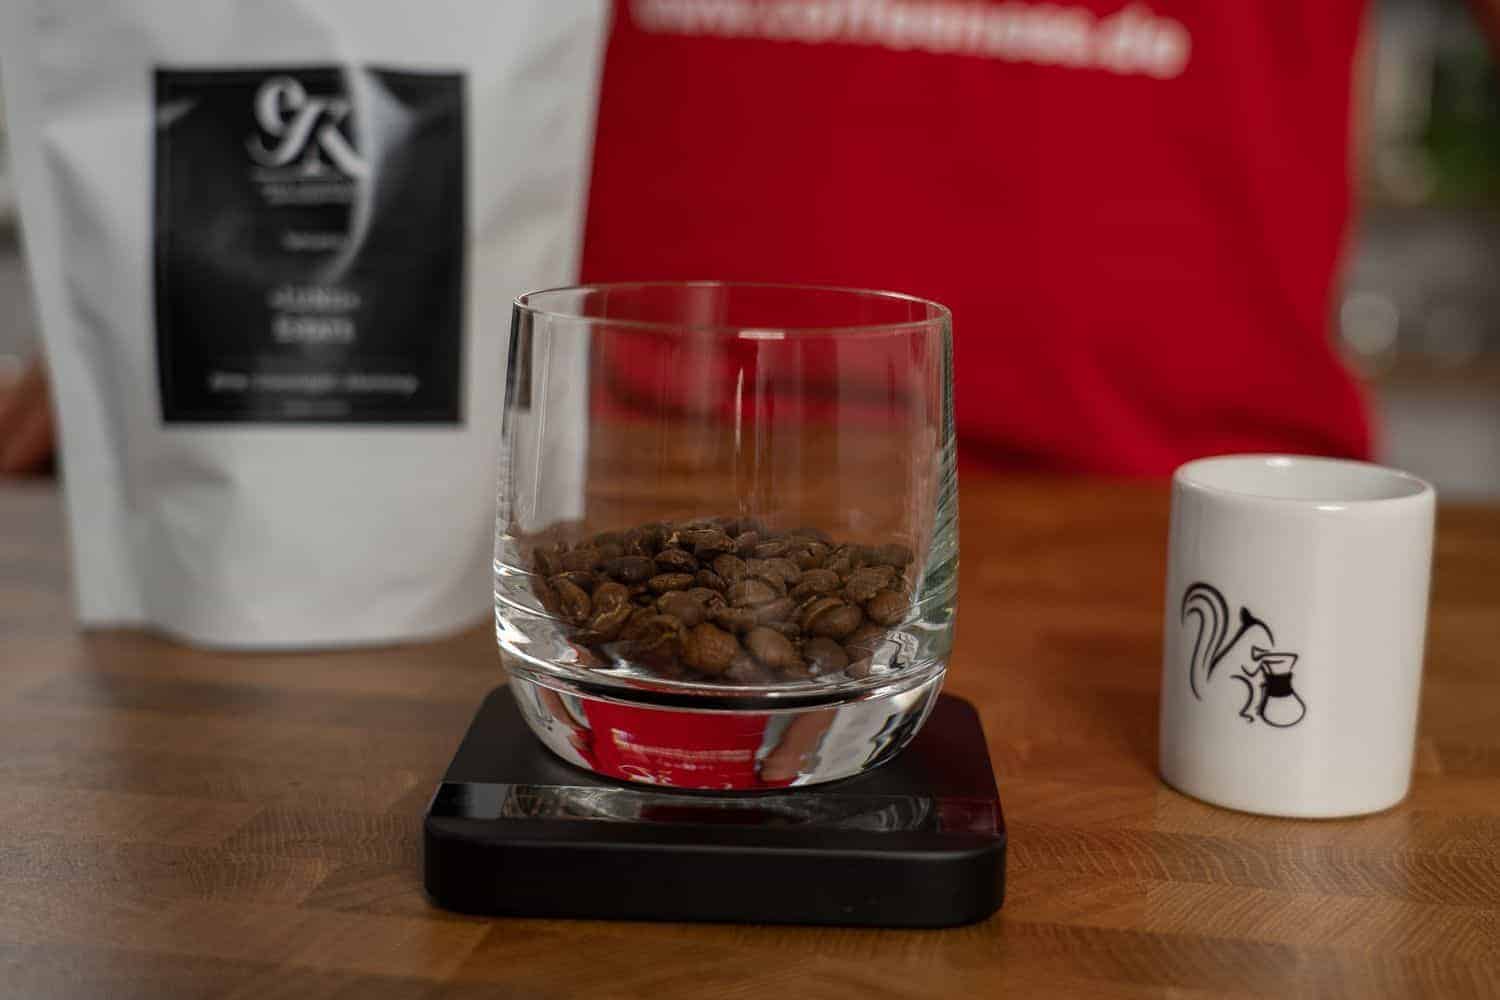
Because AeroPress coffee almost borders on espresso in terms of style, you can even go for a coffee blend with a Robusta component or have a look around at what darker roasts are available. As I said: experiments are welcome! Of course, this applies to the beans and dose used, as well as the AeroPress espresso recipes you dream up.
AeroPress Instructions: Brewing Parameters, Dose and Preparation
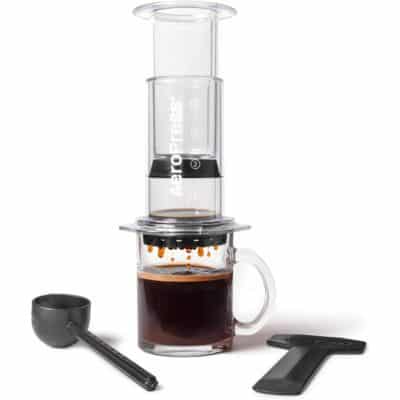
With a total of seven individual parts (including the special AeroPress filter), this device sends a clear message that you need to take extra care while you’re making coffee.
Before jumping to specific brewing process instructions, let’s first take a look at the most important brewing parameters, such as:
The quantities involved
Grind size
Brewing temperature.
Few other preparation methods offer such a wide range of different standards, recommendations and variations to the original method. I usually use this air pump lookalike coffee press with the following brewing parameters:
15 to 22 grams of coffee per 5 ounces (150 milliliters) of water
Fine (but not too fine) grinder setting
Water temperature of 176 to 194 degrees Fahrenheit (80 to 90 degrees Celsius)
Infusion time of around 1.5 minutes
Pay extra attention to your coffee beans during grinding. Very light roasts with a tangy acidity need to be ground slightly more coarsely than medium roast coffees with notes of chocolate and nuts.
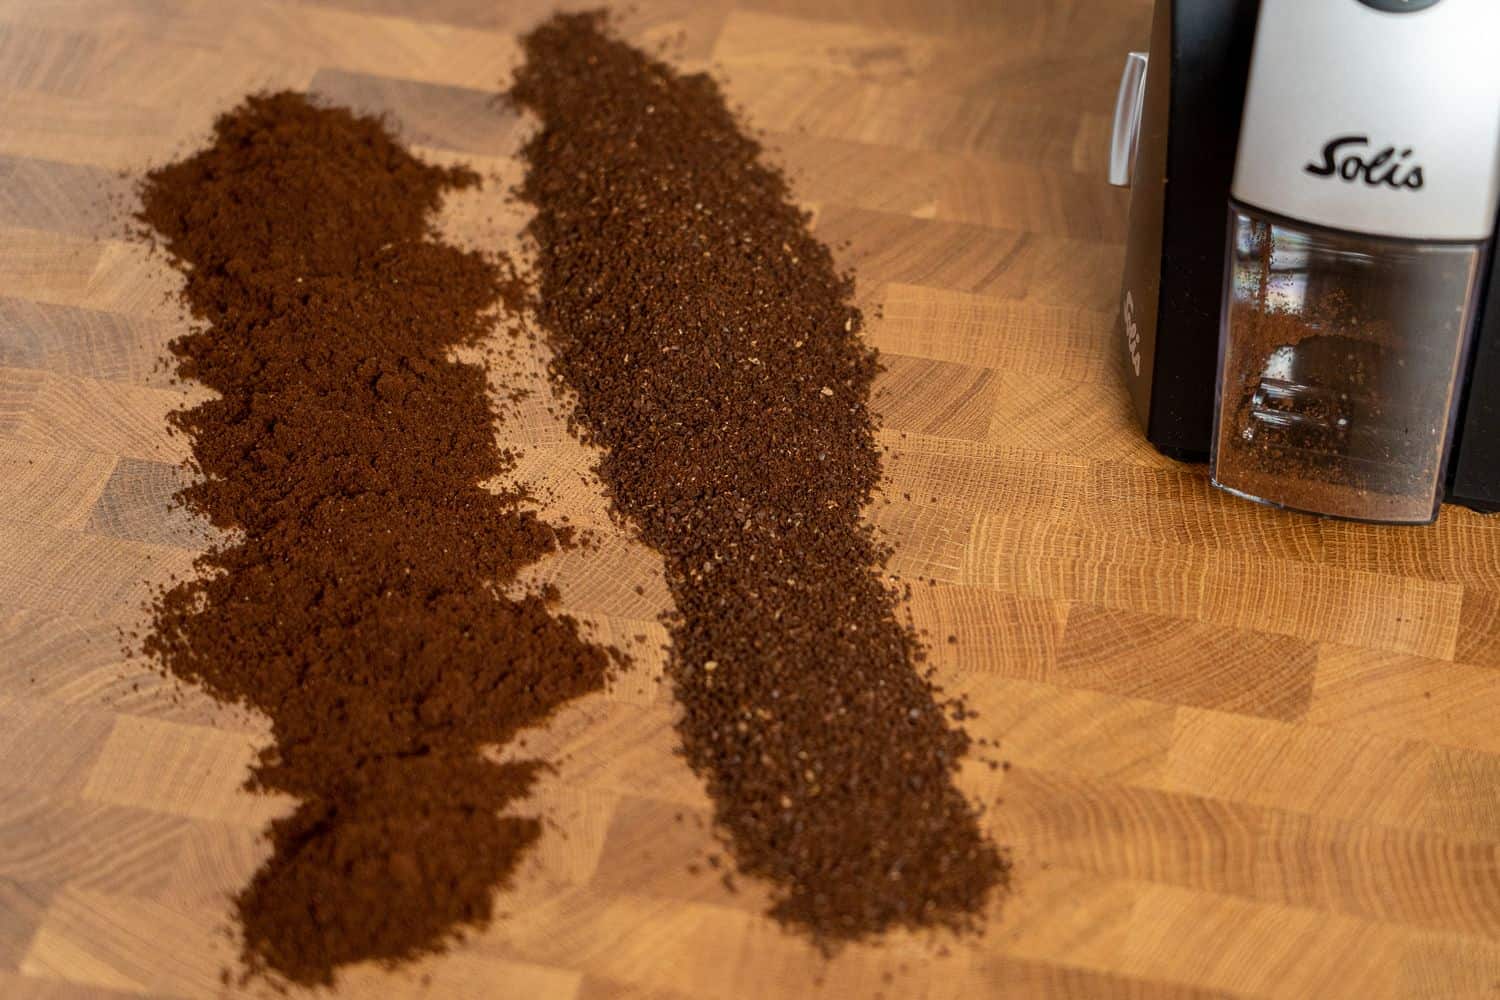
Incidentally, most models in my guide to the best coffee grinders will be able to produce consistent results for an AeroPress. That’s because you’ll do best with a grind size that’s finer than what you’d use in a drip coffee maker but coarser than what you’d use for espresso machines.
Remember to also increase the dose a little when using a coarser grind, so that the surface area available for extraction remains the same.
For the purposes of this AeroPress review, this is just my initial recommendation. Prior to plunging, you too can experiment with grind size and thus the resultant pressure. That is, after all, what the device is for.
Which Filters Should I Use With the AeroPress?
In your AeroPress review comments, you’ve repeatedly told me that you reuse each and every filter paper until it falls apart. If that doesn’t affect things in terms of flavor, then on the face of it, I don’t really see a problem.
Once swollen, however, paper fibers unfortunately no longer have the same absorption capacity or permeability. The pores quickly become clogged by coffee oils. That said, I can certainly understand the fact that you don’t feel like buying new ones all the time.
Still, when looking at prices, the original filters from AeroPress cost only $17.95 for 700 – that’s more than enough to fuel your coffee addiction for several months. Alternatively, you can also buy metal filters from third-party suppliers if you want to eliminate waste.
The AeroPress compatible Slimm Reusable Filter Set includes three stainless steel filters of different pore sizes and costs $19.97. On the other hand, a single AeroPress brand metal filter will set you back $14.95.
The most important thing to note is that the diameter of the filter should fit the filter cap perfectly so that no coffee flows unfiltered past the sides. To that end, you could also cut a standard Melitta or Hario filter down to size. It’s just that nobody ever does.
AeroPress Tutorial: The Classic Method
The classic method, as described in the original AeroPress Coffee Maker’s user manual, consists of ten steps. These should be followed carefully, at least initially, in order to achieve optimal extraction:
Place a filter into the filter cap.
Moisten the filter cap and filter with hot water and screw onto the brewing chamber.
Place the brewing chamber on top of your cup.
Add coffee grounds to the brewing chamber.
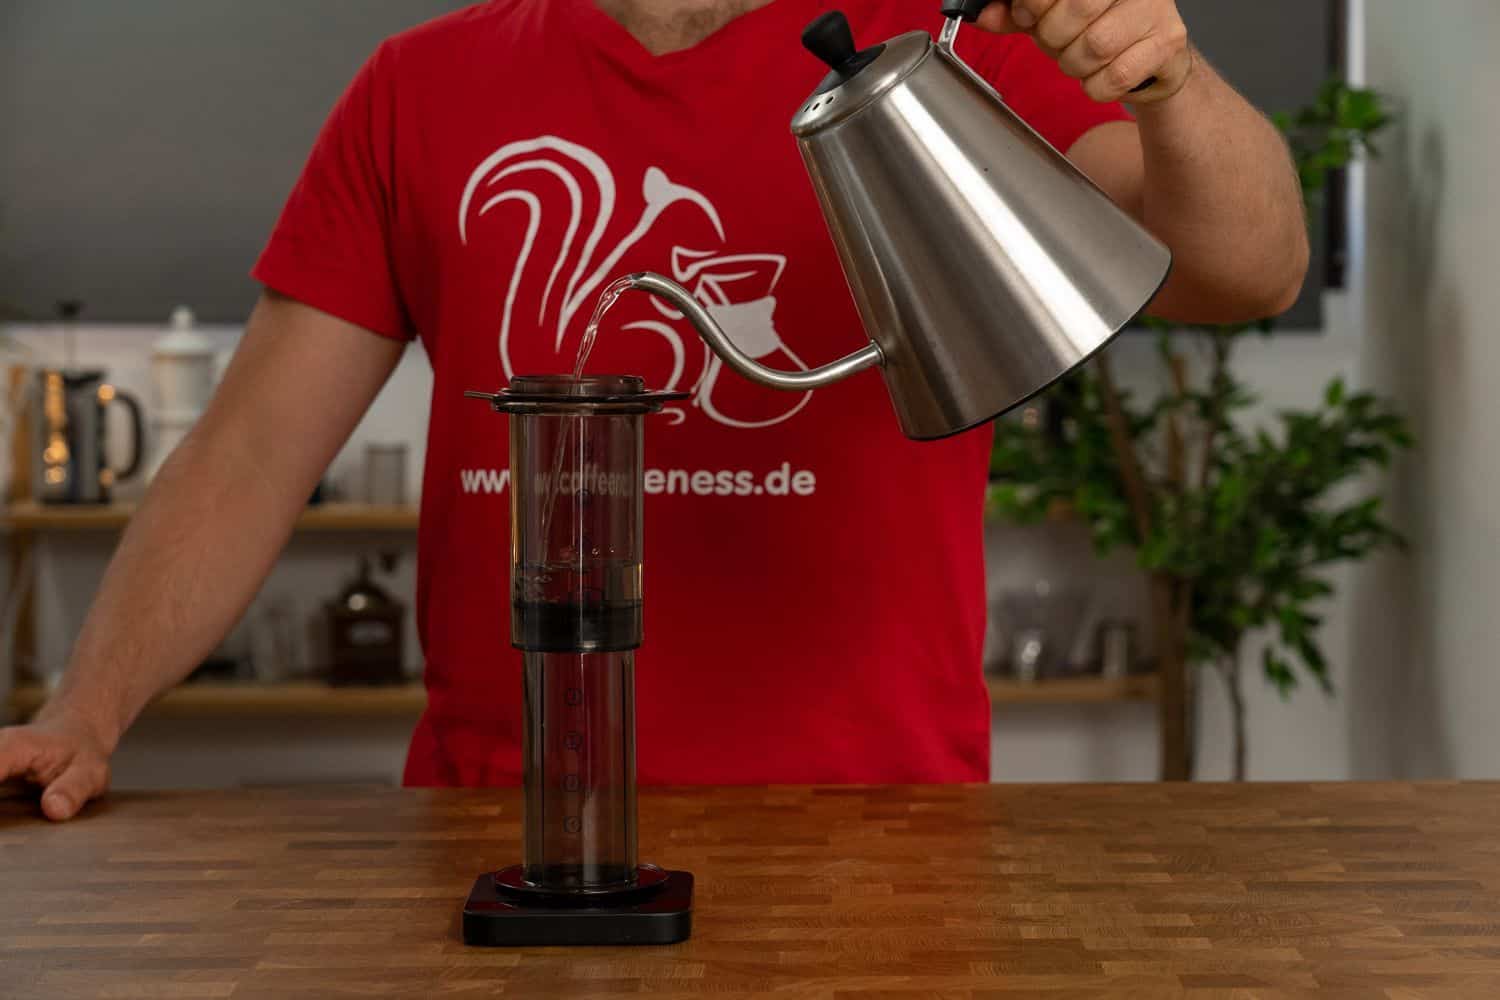
Fill with hot water up to the middle marker.
Stir continuously for 10 seconds (using included stirrer, coffee scoop or measuring spoon).
Fill the AeroPress with water to the upper marker.
Insert the plunger, then pull it back slightly in order to create a vacuum.
Wait anywhere from 30 to 55 seconds.
Press the plunger down slowly until the rubber seal has almost reached the coffee grounds.
Should the finished coffee be too strong, you can soften it by adding hot water to make an “AeroAmericano.” If that’s not your idea of good coffee, shorten the steep time for your next brew.
To clean the device, unscrew the filter holder and simply push the filter and remaining coffee sediment out – give it some oomph!
One further tip: wetting the plunger slightly will ensure smoother motion, making it easier to press down.
AeroPress Recipes: The Inverted Method
Among ideas such as bypass brewing and other AeroPress hacks, the so-called “Inverted Method” is my personal favorite – it’s actually the only way I use this device.
The instructions are as follows:
Insert the plunger a short way into the brewing chamber.
Turn the device upside down.
Add the ground coffee.
Place a filter into the filter cap.
Moisten the filter apparatus with hot water.
Fill the brewing chamber with hot water to the uppermost mark (the upside-down 1).
Stir continuously for 10 seconds (using the included stirrer accessory).
Leave to brew for 30 to 55 seconds.
Attach the filter cap with filter onto the AeroPress (from the top).
Place an inverted cup over the entire assembly.
Holding firmly, flip the whole thing over.
Press the plunger down slowly until the rubber seal has almost reached the coffee grounds.
This trick with the headstand results in coffee that’s generally more full-bodied. It also makes handling the device easier – even if it doesn’t sound like it would. In this case too, cleaning simply requires a bit of oomph and a “plop.”
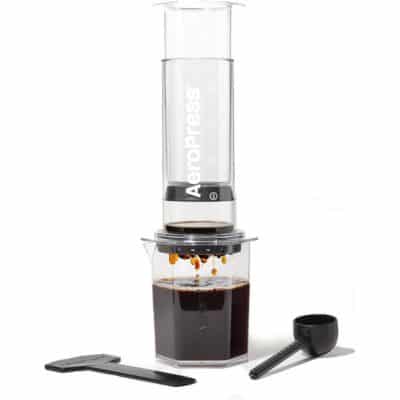
Cold Brew Made Using the AeroPress: The Ice Cold Alternative
As I sit updating this AeroPress Coffee Maker review, warmer weather doesn’t seem like it’ll show up any time soon. Still, it’s always a good time of year for tasty cold brew!
You can make this using the AeroPress too, of course. The most important ingredients and parameters for cold brew are:
A piece of plastic Saran wrap
20 grams of coffee per cup, coarsely ground
7.5 ounces (220 milliliters) cold water
10 to 24 hours of time
The coarse grind tailors the extraction process to the long “brewing period,” with the particle size being roughly equivalent to that used with a Karlsbader coffee maker. Aside from that, proceed almost exactly as you do for the hot brewed inverted method:
Add coffee to the AeroPress.
Fill up halfway with water.
Stir.
Fill up with the remaining water.
Instead of attaching the filter holder with filter directly to the end of the brewing chamber, place some Saran wrap over it first, then screw on the filter holder.
This “airtight” modification is literally intended to ensure that the cold brew doesn’t oxidize during the long infusion process. This isn’t just undesirable, it’s not good from a hygiene perspective either. After all, when brewing in a Mason jar, you’d ordinarily use an airtight lid.
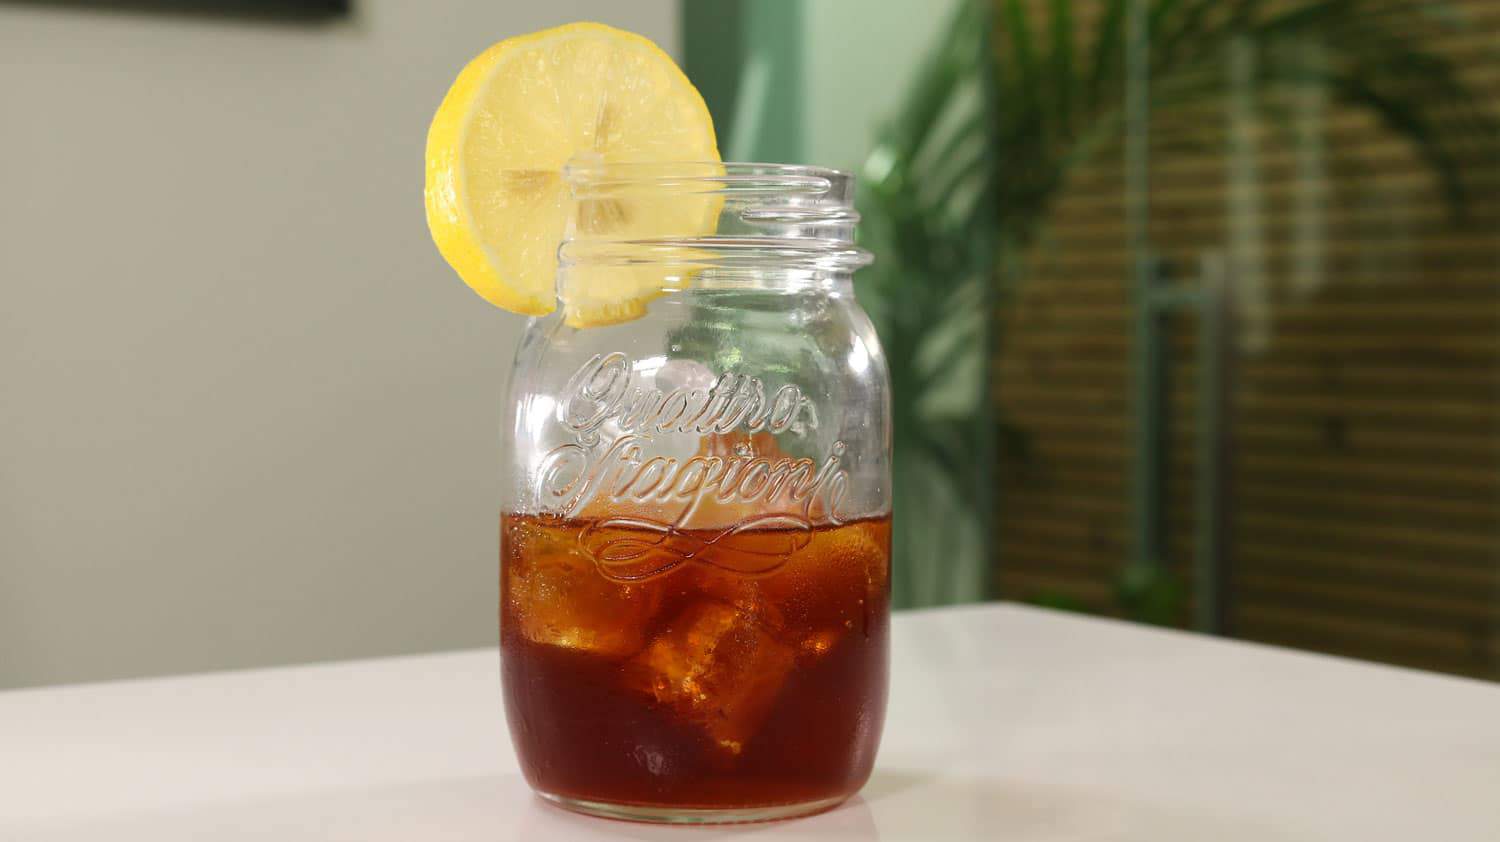
Once the infusion time is up, you can remove the filter holder and the Saran wrap. Then, insert a normal filter, turn the AeroPress over and press into a glass coffee mug; preferably one already full of ice cubes.
This cold brew is definitely stronger than other versions, so it pays to transform it into a cold brew tonic or other signature drink. You could use cold non-dairy milk for this or simply just water.
See Also: AeroPress Cold Brew: Recipes, Tips and Tricks
Advantages and Disadvantages of the AeroPress: Is It Right for Me?
In addition to the experimentation aspect and its laboratory aesthetics, the AeroPress also boasts the following very convincing arguments:
Thanks to the (ugly) plastic, it can be taken anywhere.
The individual parts fit into a small bag.
Brewing coffee can be just as easily done in the woods as in the office!
Cleaning is extremely easy and therefore also exceptionally hygienic.
The finished coffee doesn’t contain any sediment.
The brief but complete contact between the coffee grounds and water ensures the maximum extraction of flavors.
An original AeroPress costs just $39.95 on Amazon.
It’s perfect for testing new roasts.
Still, compared to other preparation methods the AeroPress also has some clear disadvantages:
Each extraction produces only a small amount of coffee. Making AeroPress coffee is therefore too laborious to supply a whole troop. Only a coffee maker can help you there.
100% plastic is never the most optimal material for a full immersion brewer.
It requires consumables with associated additional costs in the form of special filters.
It takes a while to find your perfect preparation method and brew ratio.

In other words: unpacking the AeroPress, getting started and enjoying a cup of coffee straight away is not usually an option. But if you want “special” coffee without having to buy expensive equipment, then you’ll find this device an exciting companion.
Do I Need Any AeroPress Accessories?
Needless to say, the success of this little coffee maker has also attracted imitators and encouraged third-party manufacturers to develop accessories.
For example, a specially designed “bamboo organizer” for the AeroPress has been on the market for a while. It looks okay, but is completely unnecessary and makes the device needlessly larger and bulkier.
The Fellow AeroPress Prismo, which attaches to the AeroPress in place of the supplied filter apparatus, is quite different again. This pressure valve with permanent metal filter turns the original device into a “manual espresso machine” in the style of my beloved Wacaco Nanopresso.
Pour-Over Coffee vs. AeroPress Coffee: Is It Even a Contest?
I keep getting asked how similar or dissimilar pour-over coffee and AeroPress coffee are – probably because you know what an absolute pour-over freak I am. For the purposes of this AeroPress review, I’ve summarized the most important differences in a table.
| Pour-over coffee | AeroPress coffee | |
|---|---|---|
| Main category | Pour over | Full immersion |
| Coffee style | Delicate, aromatic, multifaceted | Intense, aromatic, multifaceted |
| Precision required | High | Low to Medium |
| Equipment cost | Very low | Low |
| Biggest advantage | Excellent control over brewing parameters | Excellent experimentation & customization options |
| Biggest disadvantage | Very prone to error | Only produces small quantities of coffee |
Pour-over coffee and AeroPress coffee go their own completely separate ways based solely on which main category they belong to. Therefore, you can hardly compare one with the other. However, I firmly believe that people who consistently find pour-over drip too weak or boring will finally find happiness in a cup of AeroPress coffee.
I hope you’ve enjoyed my AeroPress review. What’s your experience using the AeroPress Coffee Maker? Any tips or tricks you’d like to share? Keep the comments coming!
AeroPress Review FAQ
Thanks to its low price and versatility, the AeroPress is definitely worth getting.
While you might prefer coffee from other brewing methods, the AeroPress produces a completely unique flavor profile.
In terms of cup clarity, the AeroPress is certainly superior to the French press.
Thanks to a combination of immersion and pressure, as well as a paper filter, AeroPress coffee is super delicate and complex.
Updated: 19. December 2025
We added a dedicated section for all the different AeroPress models now available.
More updates
11. January 2024
We updated pricing information and added new products.
Close
Your coffee expert
Arne Preuss
Hi! My name is Arne. Having spent years working as a barista I'm now on a mission to bring more good coffee to the people. To that end, my team and I provide you with a broad knowledge base on the subject of coffee.
Hi! My name is Arne. Having spent years working as a barista I'm now on a mission to bring more good coffee to the people. To that end, my team and I provide you with a broad knowledge base on the subject of coffee.
Table of Contents